DIY Shelf Inserts for LaSalle Bristol Overhead Cabinets
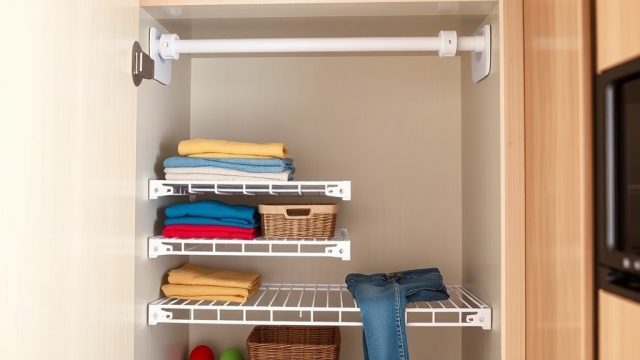
Adding custom shelf inserts to your LaSalle Bristol overhead cabinets is one of the most effective ways to reclaim wasted vertical space and keep gear organized without drilling into the cabinet walls. Unlike one-size-fits-all solutions, these inserts can be tailored to the exact dimensions and weight limits of your specific cabinet model, preventing sagging and load shifting during travel. This guide covers material choices, step-by-step installation, and real-world fixes to help you build inserts that actually stay put at 65 mph.
What Are the Exact Dimensions for a LaSalle Bristol Overhead Cabinet Shelf Insert?
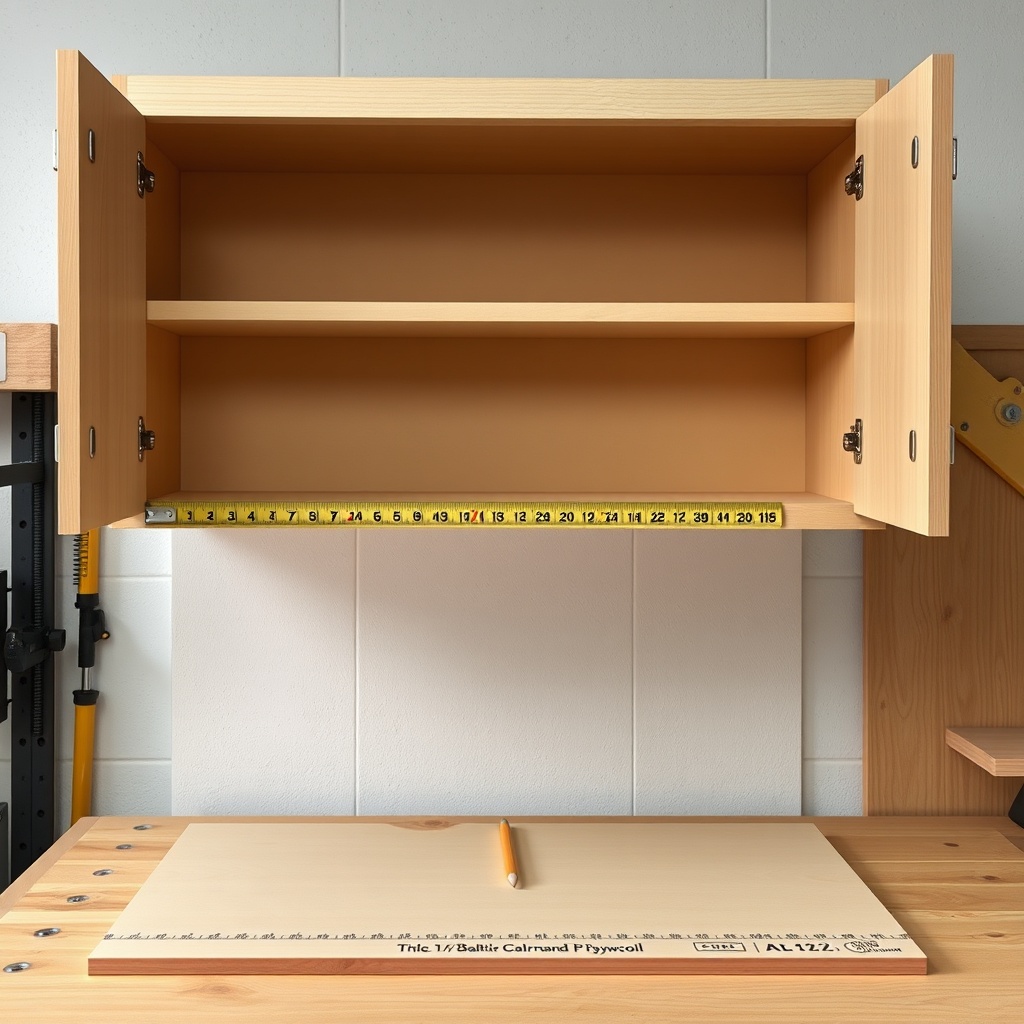
Before cutting any material, measure the interior width and depth of your cabinet at three points: front edge, middle, and back wall. LaSalle cabinets typically have a slight taper toward the back due to the roof curve. The most common width across the 2000-2015 model years ranges from 22 inches to 28 inches, with depth varying from 14 inches to 17 inches. Avoid assuming these numbers; grab a tape measure and record the narrowest point. A shelf insert that binds against the sidewalls will cause stress on the cabinet hinge mounts and potentially crack the fiberglass backing. For a precise fit, subtract 1/8 inch from the narrowest width measurement to allow for seasonal wood expansion or thermal flex in ABS plastic cabinets.
Once you have your measurements, mark the material with a carpenter’s square and cut using a fine-tooth saw blade (at least 12 teeth per inch for plywood or acrylic). Sand or file all edges to remove splinters or sharp corners that could snag stored items. If your cabinet has a lip or groove along the back edge, you can notch the insert to sit flush; otherwise, a simple butt-fit works perfectly.
Which Material Handles Road Vibration and Weight Without Warping?
The best materials for LaSalle Bristol overhead cabinet shelf inserts balance stiffness with light weight. ¼-inch Baltic birch plywood is a top choice because it resists sagging under 8-10 pounds of gear (canned goods, paper plates, or clothing) and holds up to the constant vibration of highway travel. Avoid standard pine plywood or MDF—MDF readily absorbs moisture from condensation and will swell or delaminate within a season. For a water-resistant option, use ¼-inch UV-stabilized black acrylic (often called plexiglass), which is lighter than plywood and won’t splinter. Expect to pay around $18–$25 per 2×4-foot sheet at a big-box home store, plus about $5 for a fine-tooth blade if you don’t already have one.
Another viable option is rigid PVC foam board (Kingspan or similar), which is fully waterproof and weighs about half as much as plywood. However, PVC can creep under sustained load if the span exceeds 16 inches, so keep the shelf insert depth proportional to the cabinet depth—no deeper than 15 inches for a single insert spanning the entire cabinet width. For cabinets deeper than that, cut two smaller inserts with a support strip running through the middle instead of one large piece.
| Material | Weight Limit (per 24×16-inch insert) | Moisture Resistance | Cost per Sheet (USD) |
|---|---|---|---|
| ¼-inch Baltic birch plywood | 10 lbs (evenly distributed) | Medium (needs sealant) | $18–$25 |
| ¼-inch black acrylic | 8 lbs | Excellent | $20–$30 |
| ½-inch PVC foam board | 6 lbs (creep limit) | Excellent | $25–$35 |
| ⅛-inch aluminum sheet (bent edges) | 15 lbs (with edge supports) | Excellent | $30–$45 |
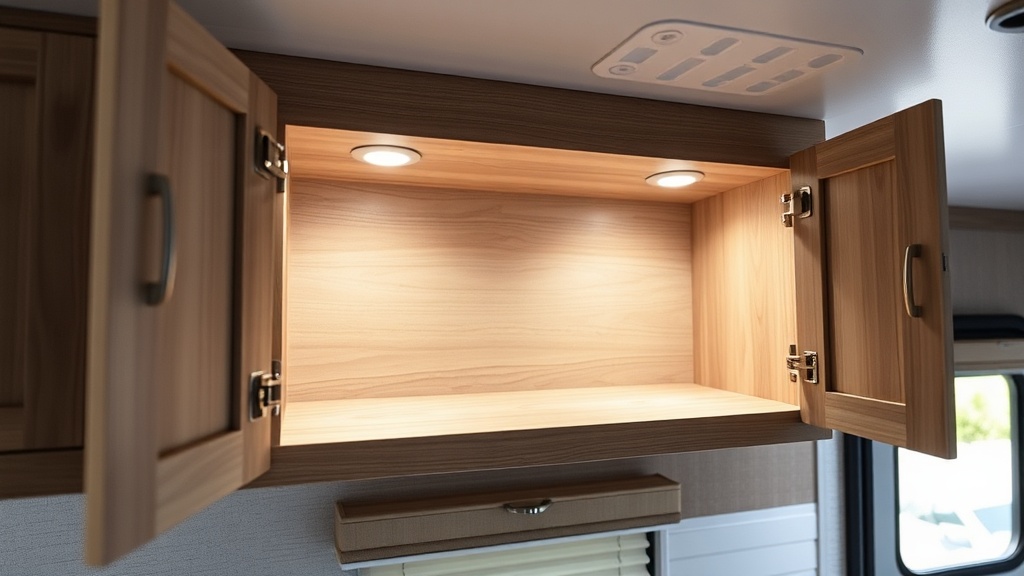
How Do You Secure the Insert Without Drilling into the Cabinet Walls?
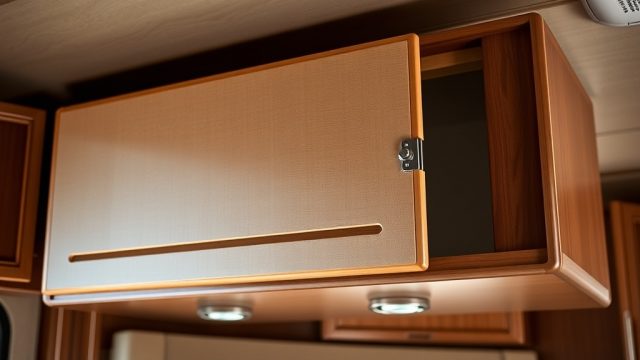
The golden rule for LaSalle Bristol overhead cabinets: never drill into the sidewalls or door frames. The fiberglass or thin ABS plastic is not load-rated for screw threads, and a single drilled hole can develop into a stress crack after a few hundred miles of travel. Instead, use compression-fit methods. The most reliable approach involves cutting the insert slightly oversized (by about 1/16 inch) and gently tapping it into place with a rubber mallet. The cabinet’s natural taper will hold it in friction if the fit is snug. For extra security, attach soft-touch Velcro strips (loop side only) to the front and back edges of the insert to prevent sliding. The Velcro grips the textured cabinet interior without adhesive residue.
Another non-invasive method uses adjustable spring-loaded rods or tension rods (intended for window blinds) cut to width. Place the rods under the insert near the front and back edges; they will press upward into the cabinet top surface and downward against the bottom shelf, locking the insert in place. Each tension rod costs about $4–$7 and can be adjusted to fit any width between 20 and 30 inches. Just make sure the rod end caps have rubber feet to avoid scratching the cabinet interior.
What If My Cabinet Has a Lip or Indented Track on the Back Wall?
Some LaSalle Bristol models—especially those built between 2007 and 2013—include a recessed track or small lip along the back wall intended for a factory-supplied divider or shelf insert. If you encounter a raised lip (approximately ¼-inch tall and ½-inch deep), you have two options. First, you can cut a matching dado groove into the back edge of your insert so it slides over the lip. A table saw with a ¼-inch dado blade makes quick work of this, but a hand router with a straight bit also works. Second, you can ignore the lip and cut the insert to sit flush against the front of the lip by trimming ¼ inch off the depth measurement. The lip acts as a built-in stop and keeps the insert from sliding toward the back wall under hard braking—actually a benefit.
If your cabinet has a full-height track (thin vertical grooves spaced every 1.5 inches), standard shelf pins designed for residential cabinets (⅜-inch diameter) often fit snugly. Insert the pins into the track at your desired height, then place the shelf insert on top of the pins. This is the most adjustable and robust solution, supporting up to 12 pounds per pin pair. You can purchase a set of 10 shelf pins for about $3–$5. Check that the track depth is at least ⅜ inch deep; some LaSalle cabinets have shallow tracks that are purely cosmetic and won’t hold pins firmly.
Can You Build a Shelf Insert That Doubles as a Drawer Organizer?
Absolutely, and this upgrade pairs well with a LaSalle Bristol Overhead Cabinet Latch Upgrade for Secure Travel to keep contents from spilling during a sharp turn. For a drawer-style insert, start with the same plywood or acrylic base, but add 2-inch-tall walls on all four sides using wood glue and 16-gauge brad nails. The walls prevent items from sliding off the insert when you open the cabinet door. To avoid interfering with cabinet door clearance, keep the total insert height (base plus walls) under 3 inches. If you need deeper storage, consider building a two-tier insert: a lower tray for heavy items (canned goods, tools) and an upper tier for lighter gear (paper towels, small bins).
For those wanting to integrate overhead storage with roof systems, check out the Roof Storage Maximization with LaSalle Bristol Overhead Cabinets guide for complementary solutions. The drawer-style insert works especially well when combined with a center divider—simply glue a ¼-inch-thick strip of plywood down the middle of the base to create a dedicated slot for tall items like wine bottles or flashlights. Coat the interior with a thin layer of polyurethane or clear acrylic sealer (two coats, sanding between) to protect against minor spills and condensation.
What Do Owners Say About Their DIY Shelf Inserts?
RV owners who have added shelf inserts to their LaSalle cabinets consistently report two major benefits: reduced clutter noise during travel and easier access to frequently used items. One owner noted that a simple ¼-inch plywood insert in the 24-inch-wide overhead cabinet eliminated the need to rummage through a pile of clothes to find a rain jacket—the insert kept the jacket flat and visible. Another owner with an 8-year-old 40-foot Class A motorhome mentioned that their acrylic inserts, after three years of use, showed no warping or discoloration, even when stored above the galley in a humid coastal environment.
The most common complaint involves inserts that are cut too tight and crack the cabinet fiberglass when the RV flexes on rough roads. To avoid this, owners emphasize the 1/8-inch clearance rule and always testing the fit in cool morning temperatures when the cabinet has shrunk slightly. Several owners also pointed out that they initially used cheap ½-inch MDF, which absorbed moisture from a small roof leak and swelled enough to pop the cabinet door open. They strongly recommend sealing any wood insert with at least two coats of water-based polyurethane.
Frequently Asked Questions
Q: Do I need to remove the cabinet doors to install a shelf insert?
A: No, most inserts can be installed without door removal. Simply open the cabinet door fully, slide the insert in at a slight angle (about 15 degrees), then level it in place. If the insert is too tight to fit through the door opening, trim 1/16 inch off the width or remove the door hinges (two Phillips screws per hinge) for more clearance.
Q: Will adding a shelf insert void my LaSalle Bristol warranty?
A: As long as you do not drill, screw, or glue anything to the cabinet walls, your warranty remains intact. A friction-fit insert is considered a non-permanent modification. For specific concerns, refer to the LaSalle Bristol Overhead Cabinet Warranty & Repair Guide.
Q: Can I stack heavy items like cast iron cookware on a plywood shelf insert?
A: Not recommended. The ¼-inch plywood insert supports about 10 pounds total. Cast iron adds concentrated weight that may bend the insert or the cabinet mounts. Use the insert for lighter, evenly distributed loads—paper goods, clothing, plastic cookware. Heavy items belong in lower cabinets.
Q: How do I clean dried adhesive residue from the Velcro strips used to secure the insert?
A: Rubbing alcohol applied with a microfiber cloth safely removes most loop-side Velcro adhesive residue. For stubborn spots, a plastic scraper (or even a credit card) will lift the residue without scratching the cabinet surface. Avoid acetone or paint thinner, which can dull the ABS plastic finish.
Q: What is the best way to cut acrylic sheet for shelf inserts without chipping?
A: Score-and-snap works well for thin (⅛-inch) acrylic, but for ¼-inch acrylic, use a table saw with a fine-tooth carbide blade (80-tooth or more) and apply painter’s tape over the cut line to reduce chipping. Cut slowly with the acrylic lying flat on the saw bed to prevent flexing and cracking.
Q: My cabinet has a rounded interior corner—should I cut the insert to match the radius?
A: Yes, but only if the radius exceeds ½ inch. Most LaSalle cabinets have square corners with a very small fillet (under ¼ inch), so a square-cut insert will fit. If you have a deep rounded corner, trace the contour onto thick paper, cut the paper to shape, then transfer it to your material. A jigsaw with a fine blade can follow the curved line accurately.