Roof Storage Maximization with LaSalle Bristol Overhead Cabinets
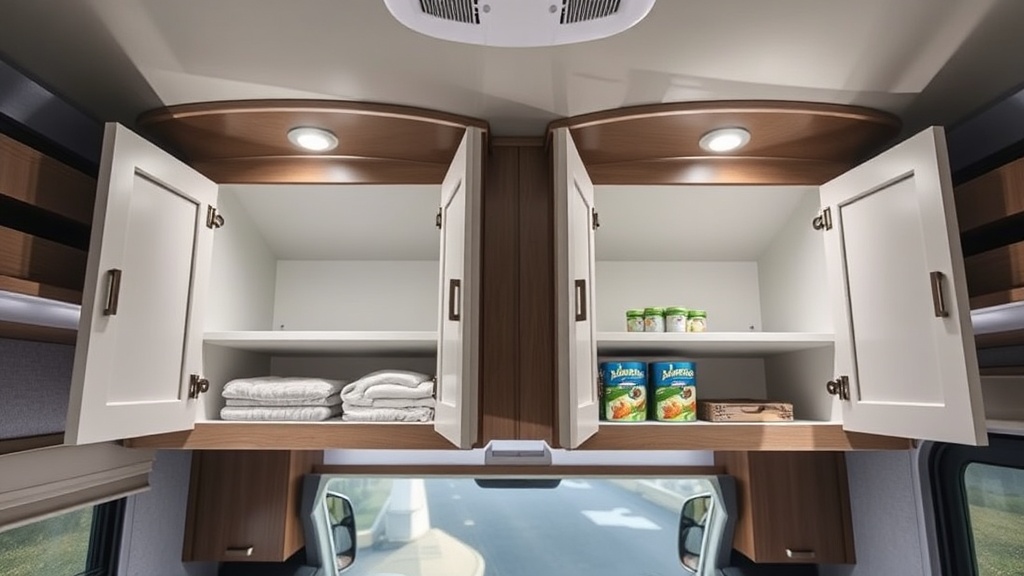
When you’re living full-time on the road or taking extended trips, every cubic inch of storage in your RV counts. LaSalle Bristol overhead cabinets are a common sight in many Class A, Class C, and travel trailers, but their default configuration often leaves space wasted above and beside the shelves. This guide walks through practical ways to reconfigure, reinforce, and organize those cabinets so you can stow more gear safely—without adding weight that strains the overhead structure or the latches.
How Much Weight Can a LaSalle Bristol Overhead Cabinet Actually Hold?
Each LaSalle Bristol overhead cabinet is built from lightweight laminated paneling and attached to the RV’s ceiling or wall studs with short screws—typically 1- to 1.5-inch #8 or #10 deck screws. In factory trim, the manufacturer rates each linear foot of cabinet for about 15–20 pounds of evenly distributed load. That means a 36-inch-wide cabinet (common over the dinette) should not carry more than 45–60 pounds total, including the door and latch hardware.
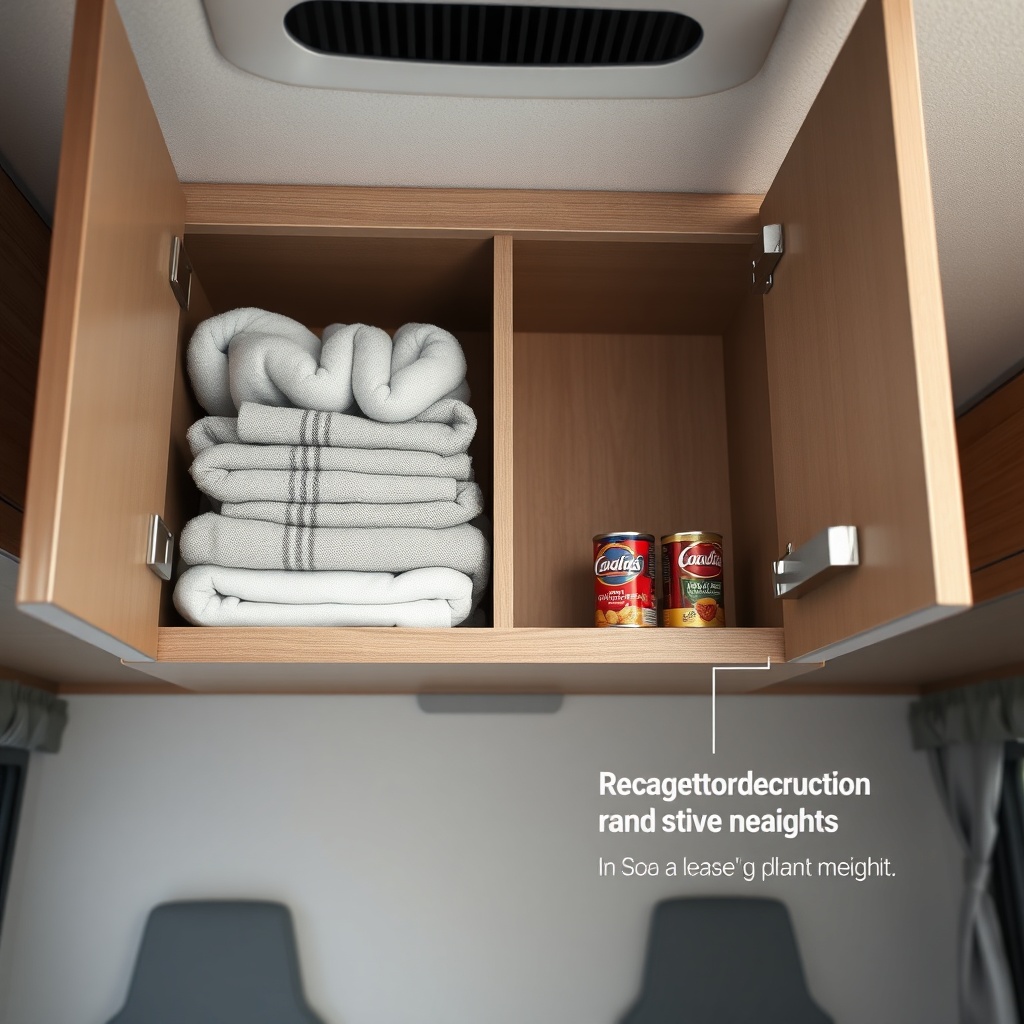
Exceeding that weight can lead to sagging shelf bottoms, cracked hinge mounts, and—worst case—the entire cabinet detaching from the ceiling during a sharp turn or bumpy road. To maximize storage without risking failure, focus on redistributing weight: put heavy cans and cast-iron cookware near the ends where the mounting screws connect to solid framing, and reserve the center span for lightweight items like paper towels, bedding, or clothing. Never stack glass jars or heavy bottles directly above the center of the door opening—that’s the weakest point.
If you’re planning to store tools, canned goods, or water bottles overhead, consider installing reinforcement brackets underneath the cabinet where it meets the wall. Steel L-brackets (1.5 x 1.5 inch) with #12 screws into the wall studs can double the safe load capacity to around 35 pounds per linear foot. Always use a stud finder and predrill holes to avoid splitting the cabinetry.
What’s the Best Way to Stack Items in These Cabinets Without Everything Falling Out?
The biggest complaint with overhead cabinets is the “avalanche effect”—opening the door and having bags of chips, boxes of pasta, or travel games tumble out. LaSalle Bristol cabinets lack built-in dividers or retaining bars, so items slide forward during deceleration and settle at the door edge.
A simple but effective solution is adding PVC-coated wire shelf dividers. These clip onto the shelf edge (which is typically a 1/2-inch lip) and create vertical lanes. For example, divide a 36-inch cabinet into three 12-inch sections: one for tall bottles, one for dry goods boxes, and one for lightweight snacks. The dividers keep items from shifting side-to-side and reduce the chance of a domino effect.
For the most common stacking issue—bowls and plates that slide forward—install a clear acrylic retaining bar across the front of each shelf. A 1-inch-tall bar attached to the shelf with small angle brackets will catch items as they move forward without blocking visibility. This is especially useful for the upper shelf, which is harder to reach. Avoid using tension rods: they look tidy but tend to slip under heavy loads and can scratch the cabinet interior.
If you prefer a no-drill approach, try adhesive-backed velcro strips on the shelf and on lightweight plastic containers. The velcro holds well for items under 2 pounds but won’t work for heavy glass jars. For full details on adding custom dividers, see our DIY Shelf Inserts for LaSalle Bristol Overhead Cabinets guide, which includes templates and cutting instructions.
Can You Install an Extra Shelf Inside a LaSalle Bristol Overhead Cabinet?
Yes, installing a second shelf is one of the most effective ways to double usable storage space, especially in cabinets that are 12–14 inches tall with only one central shelf. LaSalle Bristol cabinets have pre-drilled shelf support holes spaced 1 inch apart on the sides, but these are often limited to one or two positions. You can drill additional holes using a 1/4-inch bit and insert standard 5mm shelf pegs, but be careful not to drill through the outer cabinet paneling.
For a more robust solution, cut a 1/4-inch plywood shelf to match the cabinet interior width and depth, then support it with aluminum L-trim glued to the side walls with construction adhesive. This distributes the weight across the entire side panel rather than just four small peg holes. The new shelf should sit about 6 inches above the original shelf (leaving room for tall items on both levels).
One key caution: adding a shelf reduces vertical clearance, so taller items like cereal boxes (usually 10–11 inches tall) may no longer fit. Measure your tallest stored item before deciding the shelf height. If you store mostly flat items like plates, Tupperware lids, or paperback books, a second shelf can nearly double capacity while keeping everything accessible.
For cabinets with doors that open downward (common on LaSalle Bristol models), make sure the extra shelf doesn’t block the door’s travel path—leave at least 3/4 inch clearance between the shelf front edge and the door when it’s fully open.
How Do You Prevent Latches from Breaking Under Extra Weight?
LaSalle Bristol overhead cabinets use plastic push-to-close or turn-button latches that are rated for about 10–15 pounds of pull force. When you load the cabinet to its maximum capacity, the extra weight can stress the latch mechanism, causing it to strip or snap, especially in hot weather when the plastic becomes more brittle.
The easiest fix is upgrading to metal latches. Replace the original plastic turn-buttons with stainless steel cam locks or barrel bolts. These can handle 30+ pounds of pull force and won’t crack at -20°F or 120°F. Another option is adding a secondary barrel bolt at the top of the door—this is a simple mechanical backup that takes only five minutes to install with two screws.
If you prefer to keep the original latches (for aesthetic or warranty reasons), reduce latch load by ensuring the door is properly aligned. Misaligned doors cause the latch to bear uneven weight. Adjust the hinge screws and check that the cabinet frame hasn’t sagged; if it has, a 1/8-inch shim behind the hinge can realign the door. For a full walkthrough of latch replacement and adjustment, read our LaSalle Bristol Overhead Cabinet Latch Upgrade for Secure Travel article.
What’s the Maximum Shelf Depth I Should Use for Roof-Mounted Cabinets?
Factory LaSalle Bristol overhead cabinets have an interior depth of about 10–12 inches (front to back). The shelf itself is usually 9–10 inches deep to leave a small gap at the back for ventilation and wiring. For aftermarket shelf inserts, stick to a depth of no more than 9 inches—anything deeper makes it difficult to reach items at the back and creates leverage that can pull the shelf support pegs out of the sidewall.
If the cabinet sits over a slide-out or above a dinette seat where standing is possible, a 9-inch depth works well for storing plates, cups, and pantry items. For cabinets over the cab area (often shallower at 8 inches), use a 7-inch shelf to avoid hitting the curved windshield header when the door opens.
Do not use shelves deeper than the cabinet’s front lip. Any overhang will interfere with the door closing properly and will catch on items stored on the shelf below. Also, avoid reducing depth too much (e.g., a 5-inch shelf) because that wasted space at the back encourages items to slide out of reach—and they can shift forward and jam the door.
A quick depth reference:
| Cabinet Location | Recommended Shelf Depth |
|---|---|
| Over dinette / sofa (full-height) | 9 inches |
| Over cab (shallower) | 7 inches |
| Over kitchen counter | 8 inches |
| Over bathroom vanity | 6 inches |
How Do I Secure Heavy Items Without Damaging the Cabinet Interior?
The interior finish of LaSalle Bristol cabinets is a melamine-like laminate that is easy to clean but can chip or delaminate if you drill into it without care. For securing heavy items like cast-iron pans, toolboxes, or glass jars, avoid adhesives (which can peel the laminate) and instead use mechanical fasteners with fender washers to distribute the load.
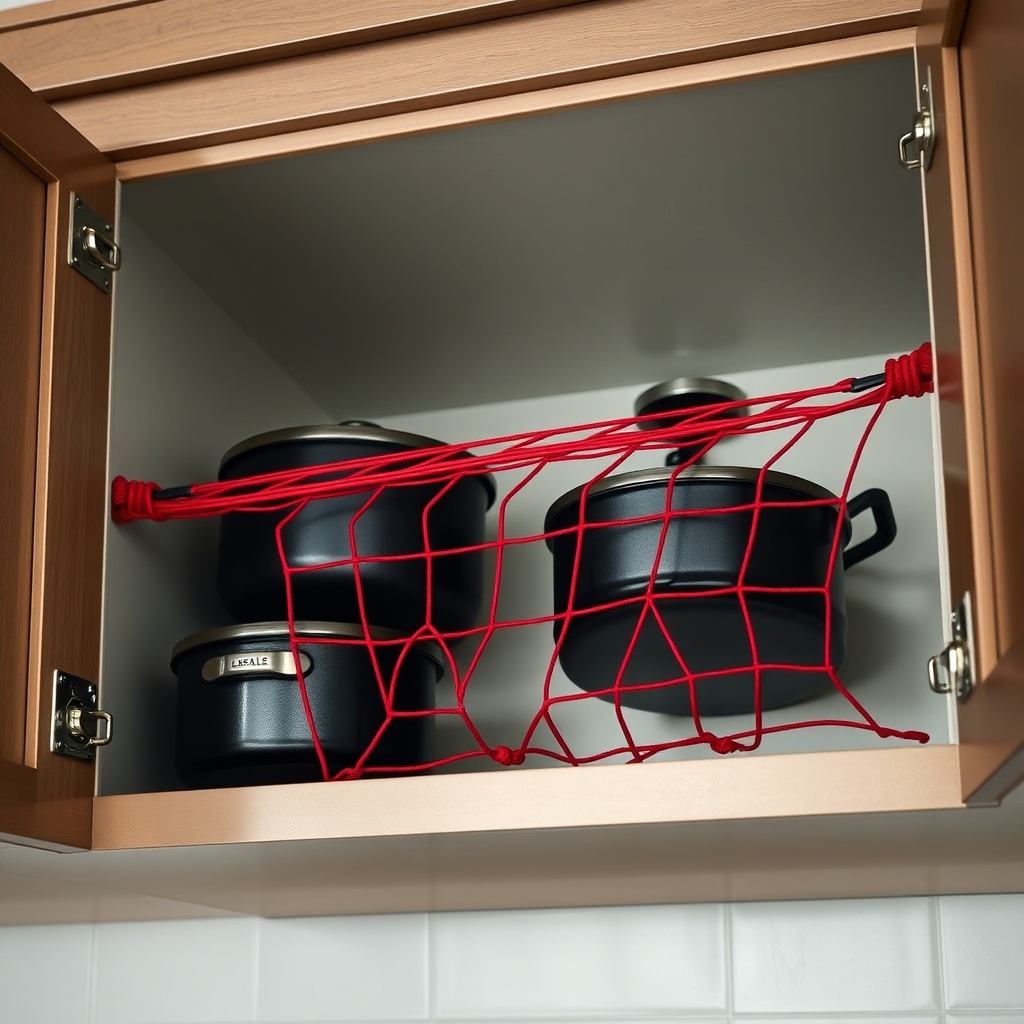
The most effective approach is to install a mesh barrier or cargo net across the door opening. Use 1/2-inch stainless steel eye hooks screwed into the cabinet frame (not the door) at four points—two at the top, two at the bottom—then attach a bungee cargo net. This catches anything that breaks loose during travel. The net should be tensioned enough to hold items in place but loose enough to remove items without unhooking.
For individual heavy items, screw small L-brackets into the cabinet floor. For example, a cast-iron skillet can sit on a padded shelf liner with two L-brackets positioned at its base to prevent forward sliding. The brackets create a “cradle” that holds the skillet in place but allows easy lifting when needed. Use 3/4-inch #6 screws and predrill to avoid splitting the shelf.
If you’re storing glass jars, wrap them in foam sleeves or use rubber shelf liner (often sold as “non-slip cabinet liner”) that provides a high-friction surface. Replace the liner every couple of years because it hardens and loses grip in hot RVs. Never use wadded newspaper or paper towels—they compress and slide, creating a false sense of security.
What Owners Say
“We added a second shelf in our 30-inch dinette cabinet and now fit all our bowls and plates up there—plus the coffee mugs. Took about an hour with a jigsaw and some scrap plywood.” — Tom R., 2021 Fleetwood Bounder owner
“I overloaded mine with cans of chili and the latch broke on a pothole. Upgraded to the metal barrel bolts and haven’t had a problem since. Wish I’d done it sooner.” — Linda M., 2018 Thor Four Winds owner
“The velcro trick for lightweight containers works okay for a few weeks, but after a month in Arizona heat, the adhesive fails. Go with screw-in dividers if you want it to last.” — Dave K., 2020 Jayco Redhawk owner
Frequently Asked Questions
Can I install a microwave in a LaSalle Bristol overhead cabinet?
Most overhead cabinets are not designed for the weight and heat of a microwave. Typical countertop microwaves weigh 25–40 pounds, which exceeds the per-linear-foot rating of 15–20 pounds unless the cabinet is less than 24 inches wide. Even then, you must reinforce the cabinet floor with 1/2-inch plywood and add metal L-brackets into wall studs. Also, ensure the cabinet has ventilation holes (minimum 4 square inches) to prevent overheating. For safety, we recommend installing microwaves in lower cabinets or dedicated counter spaces.
How do I clean the melamine interior without damaging it?
Use a soft damp cloth with mild dish soap. Avoid abrasive sponges, bleach, or ammonia-based cleaners—they will dull the laminate and can cause it to peel over time. For stubborn stains like coffee or grease, apply a paste of baking soda and water, let it sit for 10 minutes, then wipe with a damp cloth. Dry immediately to prevent moisture from seeping into the particleboard edges.
My overhead cabinet door won’t stay closed. Is it the latch or the hinge?
First, check the door alignment. If the door is sagging so it doesn’t meet the latch squarely, the hinge is the likely culprit—tighten the hinge screws and add a shim if needed. If the door aligns but still pops open, the latch spring or plastic cam is worn. Replacement latches cost about $8–12 each; you can order them from LaSalle Bristol parts dealers or RV supply stores. For persistent issues, see our LaSalle Bristol Overhead Cabinet Warranty & Repair Guide for coverage and replacement options.
How do I stop items from sliding side to side on the shelf?
Install adjustable wire shelf dividers that clip onto the shelf’s front and back edges. These create vertical walls that prevent lateral movement. You can also use adhesive foam strips along the back wall to create a friction barrier. For a low-cost hack, cut pool noodles into 6-inch lengths and wedge them between items—they compress gently and hold things in place without scratching.
What size screws do I need for mounting extra shelf supports?
Use #6 or #8 pan-head screws, 1/2 to 3/4 inch long, for attaching brackets or shelf pegs into the cabinet side panels. The side panels are typically 1/4- to 1/2-inch thick particleboard or plywood. Predrill with a 1/16-inch bit to prevent splitting. Never use screws longer than 1 inch—they can poke through the exterior cabinet face or the wall behind.
Will upgrading to metal latches void my LaSalle Bristol warranty?
Replacing a defective latch with an aftermarket metal version typically does not void the warranty on the cabinet itself, but check your specific owner’s manual. If the cabinet structure is still under factory warranty (usually 1–3 years), drilling new holes for barrel bolts might be considered a modification. For covered repairs, always use authorized LaSalle Bristol parts and document any changes. Our warranty guide explains how to file a claim if a latch fails under warranty.