Camco RV Closet Organizer Hanging Rod Installation Tips
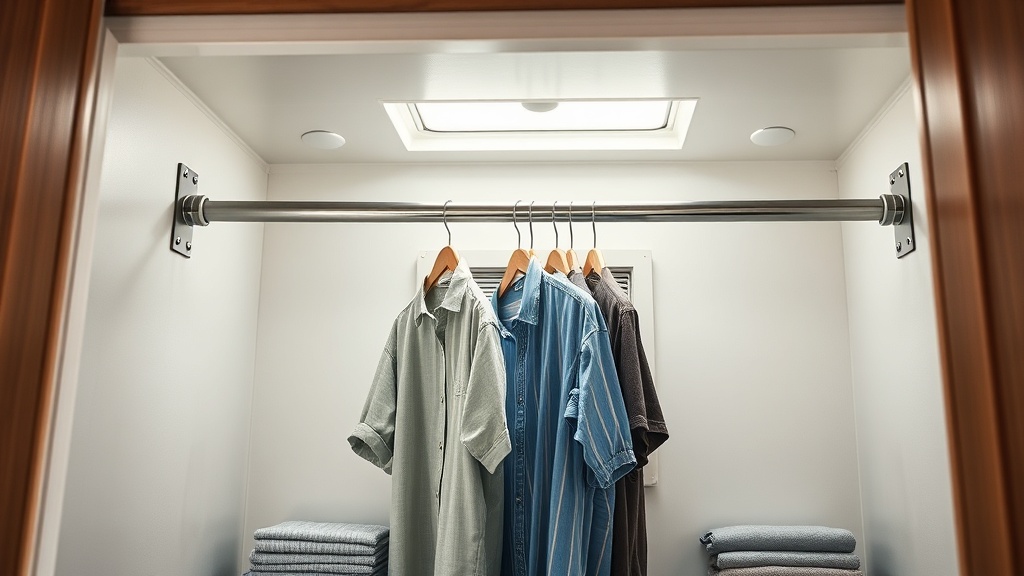
Installing a hanging rod in your Camco RV Closet Organizer can transform a cramped wardrobe into an efficient storage space. The key is to secure it properly—without damaging your RV’s thin walls or losing valuable inches. Here’s how to get it right the first time.
What Tools Do You Need for a Camco RV Closet Rod Installation?
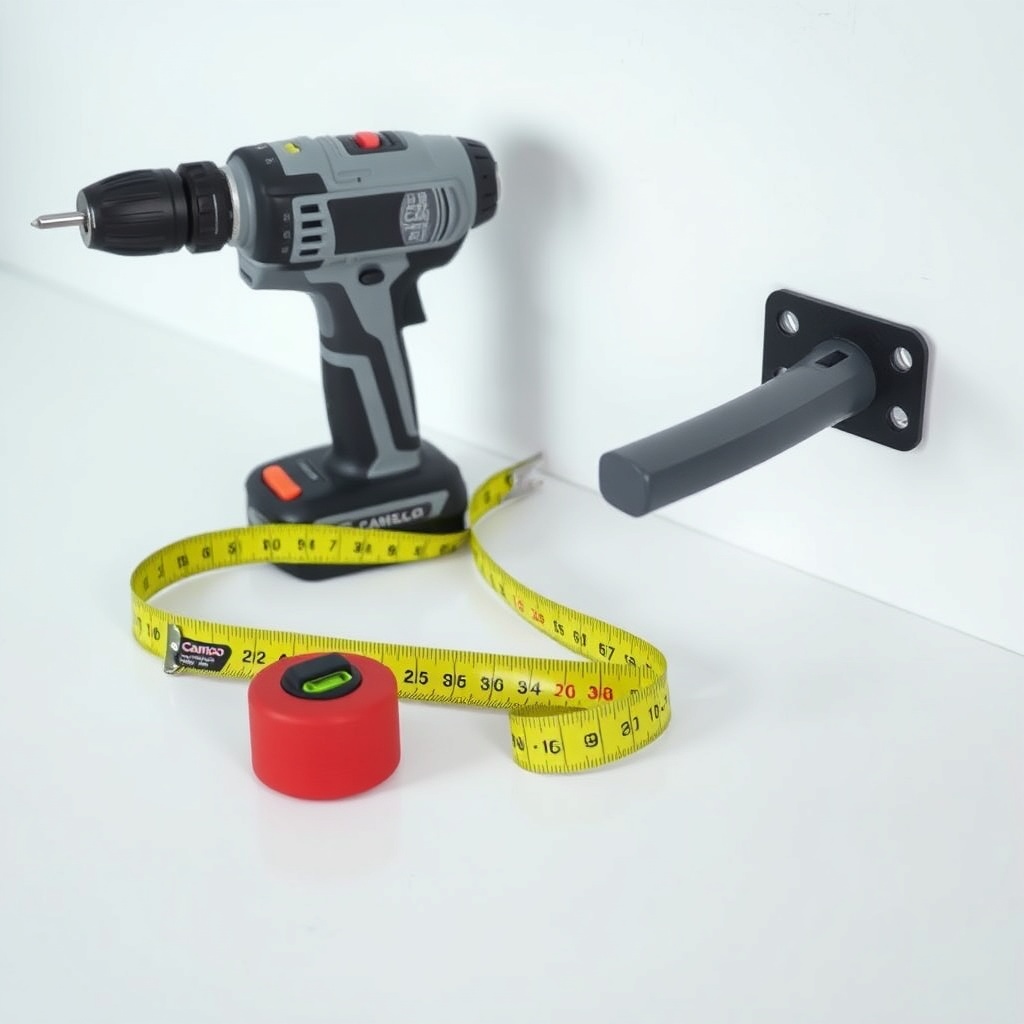
Before you start, gather the right gear. The Camco closet organizer kit typically includes adjustable rods and mounting brackets, but you’ll need a few extras for a professional fit. A stud finder is crucial—RV walls often have hidden aluminum studs or wood framing spaced 16 inches apart. Use a level for straight alignment, a pencil for marking, and a drill with 3/32-inch or 1/8-inch bits for pilot holes. For mounting, pick #8 or #10 self-tapping screws (1 inch long) into solid wood, or toggle bolts for hollow walls—rated for at least 50 pounds. Avoid drywall anchors; they fail under the weight of hanging clothes. A tape measure ensures your rod sits at a consistent 42–48 inches from the floor, standard for hanging shirts and jackets.
How Do You Find the Right Wall Material for the Mounting Brackets?
RV walls vary—luan plywood, fiberglass, or aluminum siding. The Camco organizer rod brackets work best when screwed into solid backing, like a plywood panel behind the closet wall. Tap the wall gently: a hollow sound means you’ll need toggle bolts. A solid thud indicates wood. For fiberglass, use adhesive-backed brackets from Camco (sold separately) to avoid cracking the surface. If your closet has a pre-existing shelf, you can often mount the rod directly into that—just check the shelf’s weight capacity. Match the bracket screws to the material: self-tapping screws for metal, coarse-thread wood screws for plywood. Avoid over-tightening—strip the hole and you’ll need a larger anchor.
What’s the Best Height for a Camco Closet Rod in an RV?
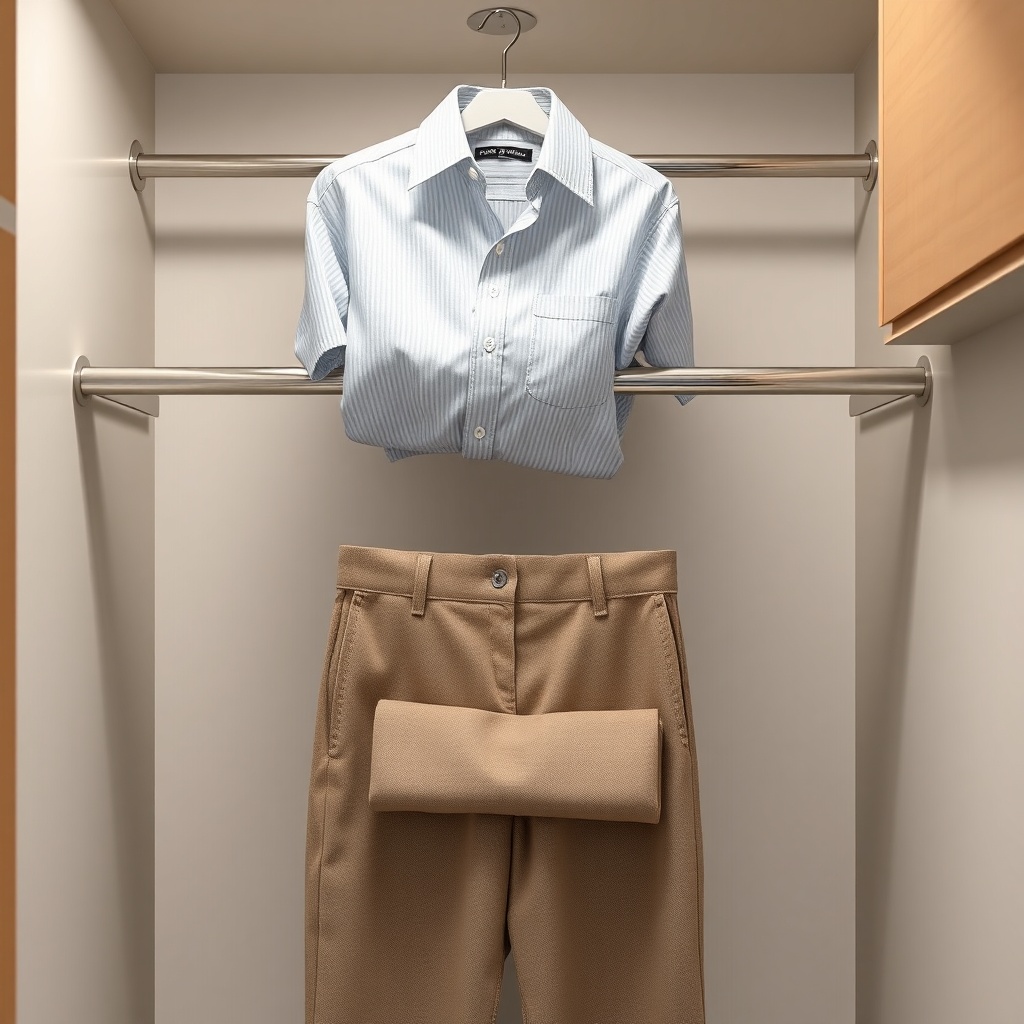
The rod’s height depends on what you’re storing. For everyday clothes—shirts, blouses, and folded pants—set the rod 42–48 inches from the floor. This leaves 24–30 inches below for hanging full-length items like dresses or coats if you use a double rod. In a typical Class C or travel trailer, ceiling height is often 6.5 to 7 feet, so a second rod at 30–36 inches is ideal for pants folded over hangers. Measure the longest garment you plan to hang; add 2 inches for clearance. A good rule: position the rod so the bottom of hanging clothes is 2–3 inches above the floor, preventing dragging. For the Camco RV Closet Organizer: Modular Shelving for Small Wardrobes, pair the rod with adjustable shelves to maximize vertical storage.
Should You Use a Single or Double Rod Setup?
Double rods double your hanging capacity without extra floor space. Camco’s organizer kits include two rod lengths (usually 24 and 36 inches) that telescope to fit standard RV closets (15–36 inches wide). For shirts, go single rod at 44 inches. For pants and jackets, add a lower rod at 30 inches—just ensure 36–40 inches of clearance above it for longer items. If your closet is under 20 inches deep, stick to a single rod; double rods crowd the space and make access tight. Use a cross-bar or H-bracket to stabilize two rods side by side, preventing sway while driving. Check weight limits: each Camco rod supports about 20–30 pounds static, so distribute heavy coats across multiple hangers.
How Do You Secure the Rod Without Damaging RV Walls?
RV walls dent and crack easily. Drill pilot holes before inserting screws—smaller than the screw shank—to prevent splitting. For hollow walls, use snap toggles (rated for 50+ pounds) instead of standard toggle bolts; they hold better and don’t require a huge hole. If your closet has a metal frame, adhesive-backed magnetic brackets from Camco can mount rods without drilling. For wood-framed walls, screw directly into studs you locate with a stud finder. Avoid mounting near windows or vents—condensation weakens adhesive. A pro tip: apply a dab of clear silicone inside each mounting hole before screwing—it seals against moisture and reduces vibration rattles.
| Installation Issue | Usually Not Urgent | Needs Attention Soon |
|---|---|---|
| Rod sags slightly under light shirts | Check hanger count—usually fine under 15 shirts | Immediate—add center support or tighten brackets |
| Bracket screws feel loose | Buff with toothpick and wood glue | Replace with larger toggle bolt or move bracket |
| Clothes drag on the floor | Adjust rod height up by 1–2 inches | Shorten hangers or install a second rod above |
| Rod rattles while driving | Check if end caps are fully seated | Add foam padding inside the bracket |
Can You Add a Second Rod Without Modifying the Frame?
Yes—Camco makes a clamp-on rod that attaches to your existing rod or shelf lip. No drilling needed. Use it for scarves, ties, or lightweight pants. For heavier loads, a tension rod (rated 15–20 pounds) fits inside standard closets without screws. Measure your closet’s width exactly—tension rods require an inch of compression to hold. For a permanent solution, mount a second bracket 12–18 inches below the first, using the same wall preparation steps. Camco Closet Organizer vs. Command Storage: Which Holds More? offers a direct comparison—Camco’s rod system typically holds more weight than adhesive hooks, especially in travelling conditions.
What Owners Say
Owners highlight that the Camco closet rod installs quickly—most finish in under 30 minutes. “I used the included brackets and it hasn’t budged in 2000 miles,” says a Class B van owner. Another notes that the rod saved space: “I added a second rod for my wife’s blouses—she fits twice as much now.” A few mention the rod’s weight limit is more suited to casual clothes than heavy coats. “I wouldn’t load it with winter jackets, but for t-shirts and polos it’s perfect.”
Frequently Asked Questions
1. Will the Camco rod scratch my closet walls?
Only if brackets are overtightened. Rubber pads (included) prevent marks—use them on all contact points.
2. Can you install this rod if your closet has a curved ceiling?
Yes. Use the adjustable rod at its shortest length and mount brackets on the vertical wall—not the curve.
3. How much weight can the Camco hanging rod hold?
The rod itself holds 20–30 pounds static. Brackets may support more if anchored into solid wood—check each bracket’s rating.
4. Do I need to cut the rod for custom width?
No—the Camco rod telescopes from 15 to 36 inches. No cutting required.
5. Can I install the rod in a pop-up camper?
Yes, but use adhesive-backed brackets on soft wall surfaces. Avoid tension rods—they rely on rigid framing.
6. What if my rod wobbles after installation?
Tighten all screws fully. Add a center support bracket if the rod spans over 30 inches. For persistent wobble, check wall anchorage.
For more tips on expanding your storage, see Maximize Interior Space with Camco Closet Organizer Accessories.