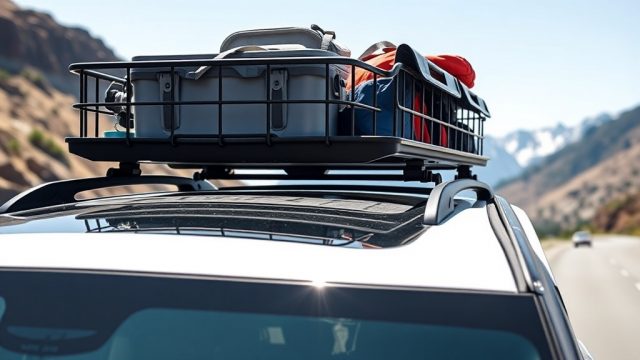
Introduction to the RVStow Roof Rack Cargo Basket
When your RV’s interior storage is maxed out, the RVStow Roof Rack Cargo Basket offers a secure and weather-resistant solution to carry bulky gear overhead. This heavy-duty basket, designed specifically for RVs, combines a robust steel frame with a low-profile design to minimize wind resistance and fuel economy loss. Below, we provide installation tips, weight limit guidance, and real-world feedback to help you maximize your overhead storage.
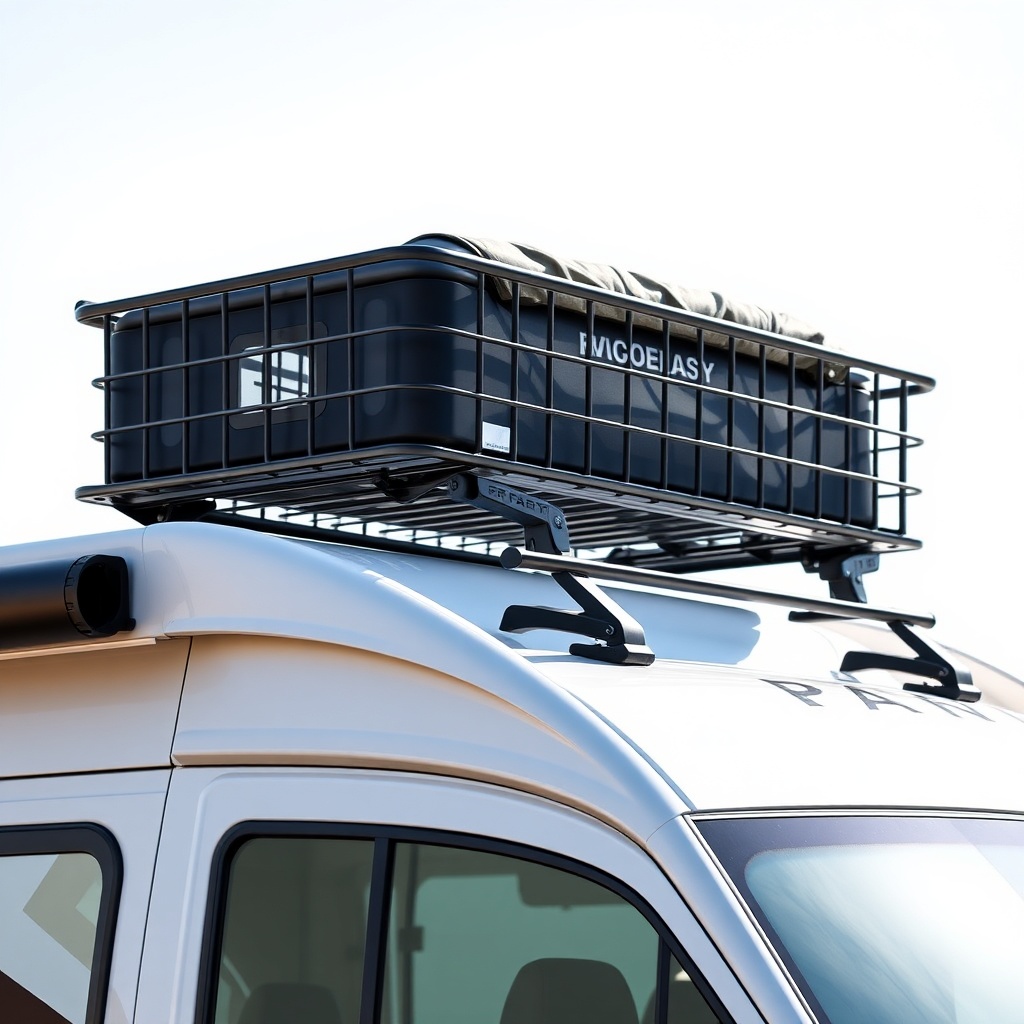
What Are the Dimensions and Weight Limits of the RVStow Roof Rack Cargo Basket?
The RVStow Roof Rack Cargo Basket measures 60 inches long by 40 inches wide by 6 inches deep, offering 2,400 square inches of flat cargo space. Its maximum dynamic weight limit is 150 pounds (68 kg) when properly installed on a roof rack system rated for at least 200 pounds. Static weight (when parked) can reach 300 pounds, but we recommend always staying within dynamic limits for safe travel.
Here is a quick specification reference:
| Specification | Value |
|---|---|
| Overall Dimensions (L x W x D) | 60″ x 40″ x 6″ |
| Internal Cargo Area | 2,400 sq in |
| Dynamic Weight Limit (Driving) | 150 lbs (68 kg) |
| Static Weight Limit (Parked) | 300 lbs (136 kg) |
| Material | Powder-coated steel |
| Weight of Basket | 35 lbs (16 kg) |
| Compatibility | RV roof racks with crossbars 40″–60″ apart |
Always consult your RV’s roof load rating and crossbar capacity before installation. Exceeding these limits can cause structural damage or compromise safety.
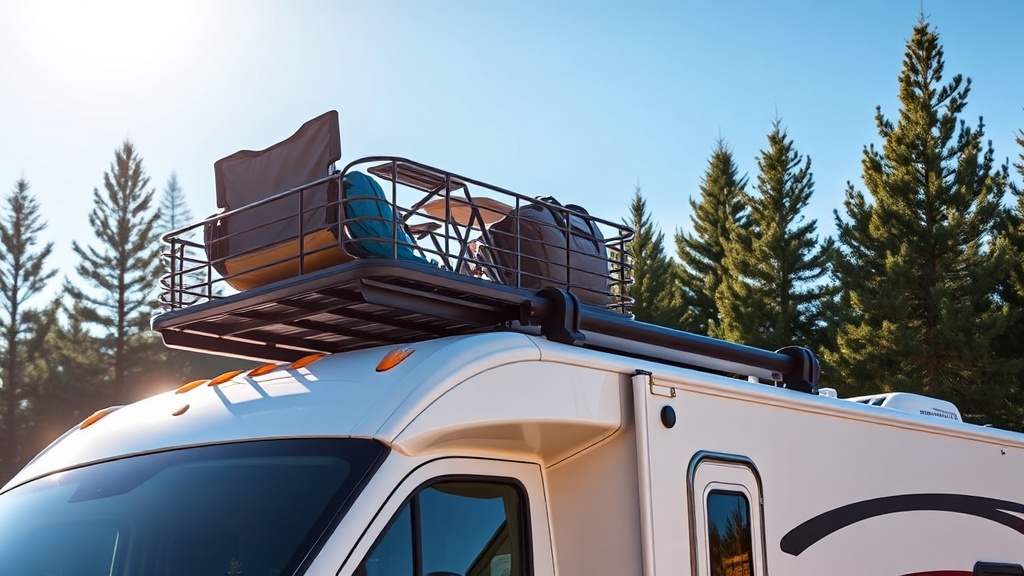
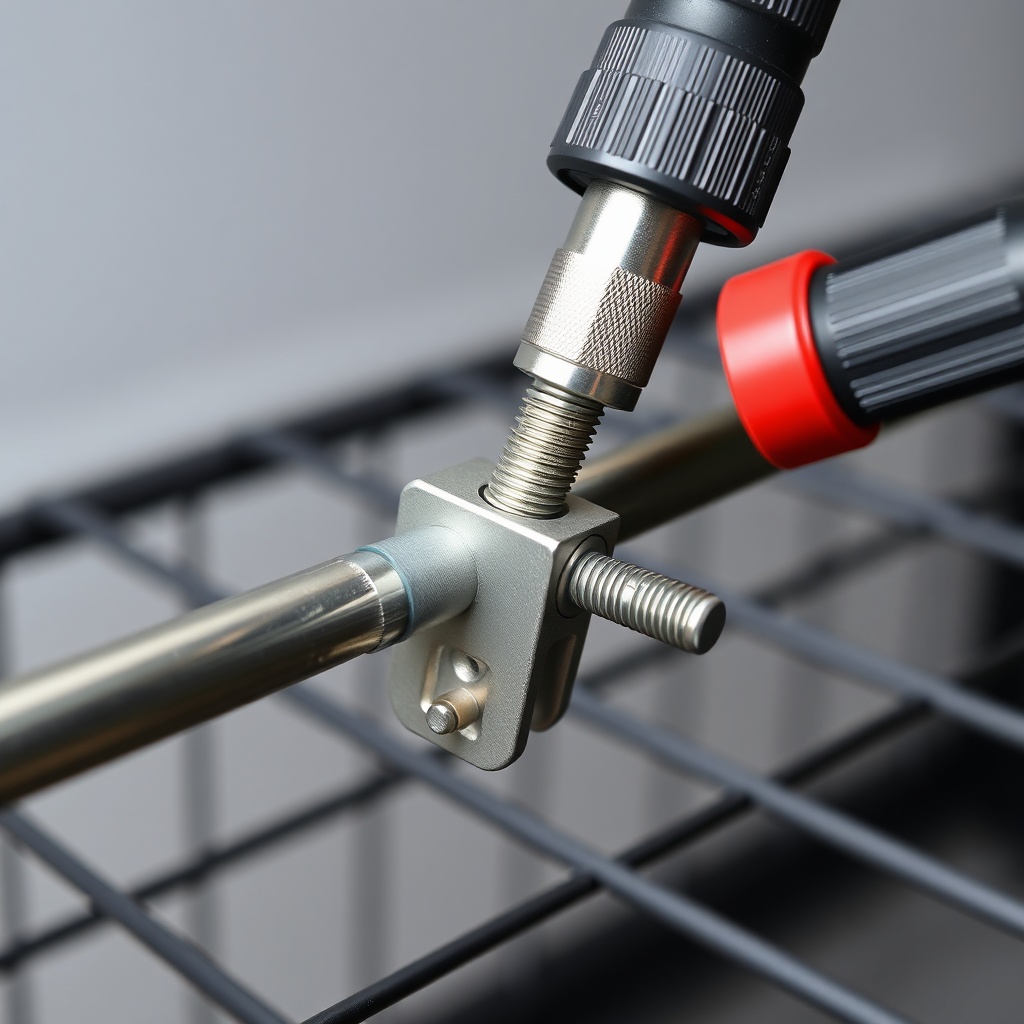
How Do You Install the RVStow Roof Rack Cargo Basket?
Installation requires moderate mechanical ability but no special tools beyond a socket wrench and torque wrench. Follow these steps for a secure fit:
- Step 1: Prepare the Roof – Clean the roof surface and crossbars thoroughly. Remove any debris or old adhesives.
- Step 2: Position the Basket – Place the basket on the crossbars, centering it side-to-side and front-to-back. Ensure the basket’s mounting brackets align with the crossbars.
- Step 3: Secure with U-bolts – Thread the included U-bolts through the brackets and around the crossbars. Hand-tighten nuts initially.
- Step 4: Torque to Spec – Using a torque wrench, tighten each nut to 15–20 ft-lbs (20–27 Nm). Avoid overtightening, which can damage the crossbars.
- Step 5: Final Check – Shake the basket firmly. If it moves more than 1/4 inch, retighten. Add optional locking pins for theft deterrence.
For detailed guidance, review our roof rack installation tips article. Always test drive at low speeds before loading heavy gear.
What Gear Fits Best in the RVStow Roof Rack Cargo Basket?
The basket’s 6-inch depth suits flat, bulky items rather than tall or awkwardly shaped loads. Ideal gear includes:
- Folding camping chairs (stacked flat)
- Folding tables (up to 48″ long)
- Sleeping bags and duffle bags (in waterproof containers)
- Awning poles and hiking sticks (secured with straps)
- Extra propane tanks (upright, with tie-downs)
Avoid storing loose items that can shift or create wind noise. Use a cargo net or bungee cords rated for at least the basket’s weight limit. The basket’s open design allows rain to drain, but we recommend covering gear with a tarp or waterproof bag for long trips.
What Are Common Installation Mistakes and How to Avoid Them?
Many users encounter issues with installation. The most frequent errors include:
- Overloading the basket – Distributing weight unevenly can stress crossbars. Keep heavier items centered and under 150 lbs total.
- Ignoring crossbar spread – The basket requires crossbars at least 40 inches apart. Too close, and the U-bolts won’t align; too far, and the basket flexes.
- Skipping torque specs – Hand-tightening alone leads to rattling or detachment. Always use a torque wrench.
- Blocking roof vents or antennas – Measure clearance above skylights, AC units, or TV antennas before final positioning.
For RV-specific load management, see our RV roof load capacity guide. Proper planning prevents damage and costly repairs.
How Does the RVStow Basket Perform in Different Weather Conditions?
The powder-coated steel finish resists rust and UV fading, but extreme weather still demands caution. In heavy rain or snow, water can pool if the basket is not tilted slightly—install with the front end 1/2 inch higher than the rear to promote drainage. High winds (over 50 mph) can cause significant drag; reduce speed or remove the basket if you anticipate severe weather. In hot climates, metal components may become too hot to touch after prolonged sun exposure; use heat-resistant gloves when loading or unloading.
What Owners Say About the RVStow Roof Rack Cargo Basket
User reviews highlight both strengths and weaknesses. On RV forums, owners praise the basket’s ease of installation and solid feel. One owner from Colorado noted, “I carried two kayak paddles, a folding table, and four chairs without any noticeable sway on I-70.” Criticisms focus on the lack of included tie-down straps and the basket’s weight—35 pounds empty reduces the effective cargo capacity. Another owner in Florida said, “The basket handles tropical downpours well; gear stayed dry inside a covered tote.” Overall, the average rating across major retailers is 4.2 out of 5 stars, with the majority of complaints related to incomplete installation hardware rather than the basket itself.
Frequently Asked Questions
1. Can I install the RVStow Roof Rack Cargo Basket on a fiberglass roof without crossbars?
No, the basket requires factory or aftermarket crossbars for mounting. Direct fiberglass attachment can damage the roof.
2. What is the maximum height of items I can carry?
While the basket is 6 inches deep, you can strap taller items (e.g., a 12-inch cooler) securely as long as they don’t exceed the roof’s overall height limit for your RV (typically 13.5 feet).
3. Does the basket come with a warranty?
Yes, it includes a 1-year limited warranty against manufacturing defects. Extended warranties are available from select retailers.
4. Can I use this basket for a pop-up camper or travel trailer?
Yes, if the trailer has a roof rack system rated for the load. Ensure the crossbars are compatible.
5. How do I clean and maintain the basket?
Rinse with water and mild soap every few months. Check for rust annually and touch up with automotive-grade paint if needed.
6. Will the basket affect my RV’s fuel economy?
Yes, by about 1–3 MPG at highway speeds, depending on cargo shape. Use a wind deflector (sold separately) to reduce drag.