Why Add an Inner Divider to Your RVStow Roof Rack Cargo Basket?
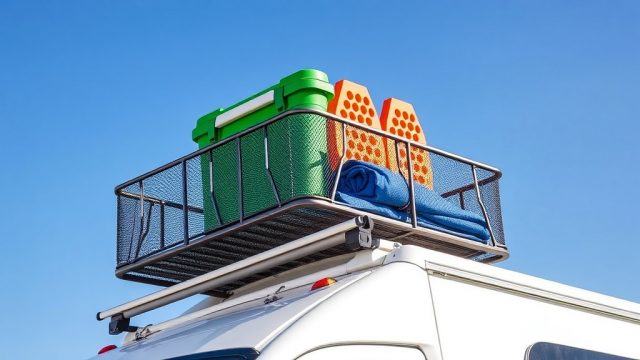
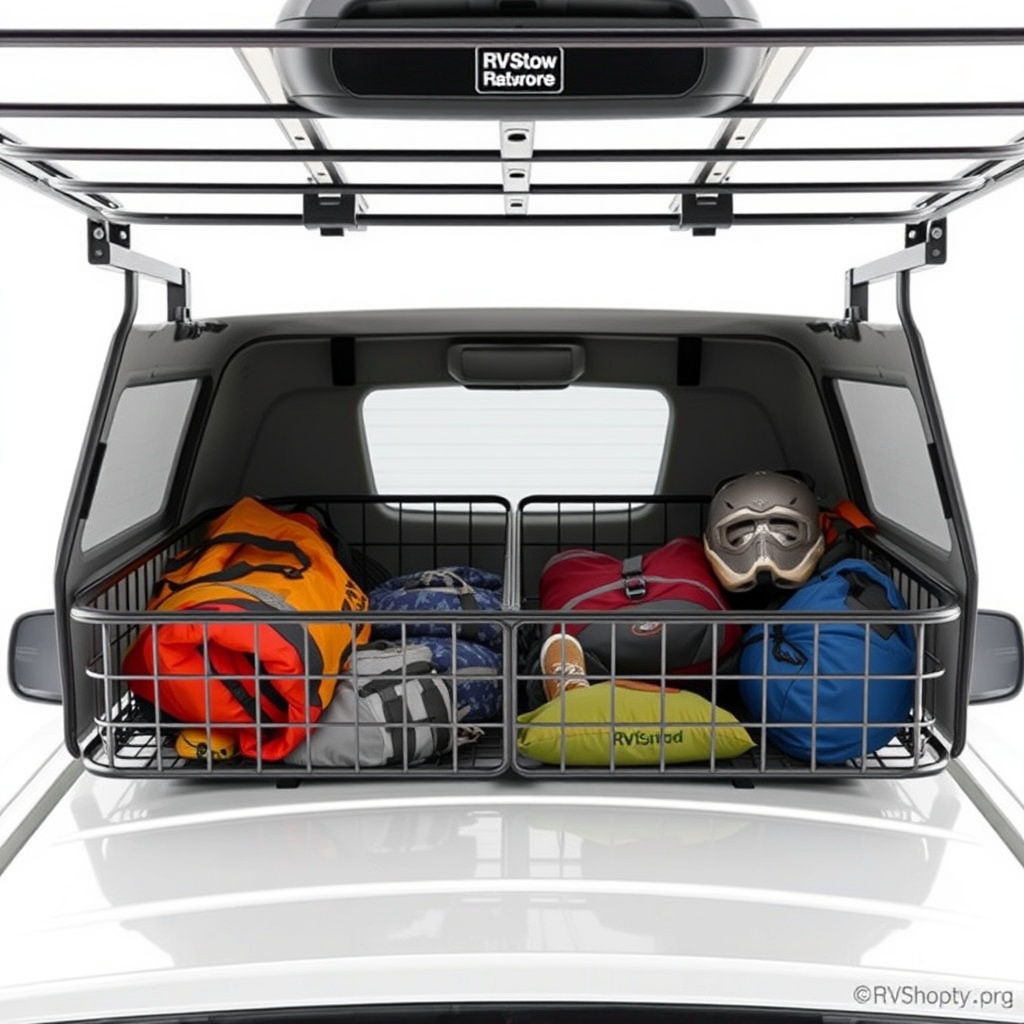
An RVStow Roof Rack Cargo Basket is a solid platform for hauling camping chairs, coolers, and recovery gear. However, without internal organization, bags slide into one corner, fuel cans tip over, and smaller items wedge between larger loads. That chaos not only wastes space but also creates dangerous weight shifts during highway driving. Installing a custom inner divider mod transforms your basket from a simple tray into a segmented storage system. This guide explains how to build and install a divider that keeps each item in its designated zone, reducing load shift and making packing far more efficient. By adding a few inches of aluminum or steel channel, you stop gear migration permanently.
What Does an Inner Divider Mod Actually Do for Cargo Stability?
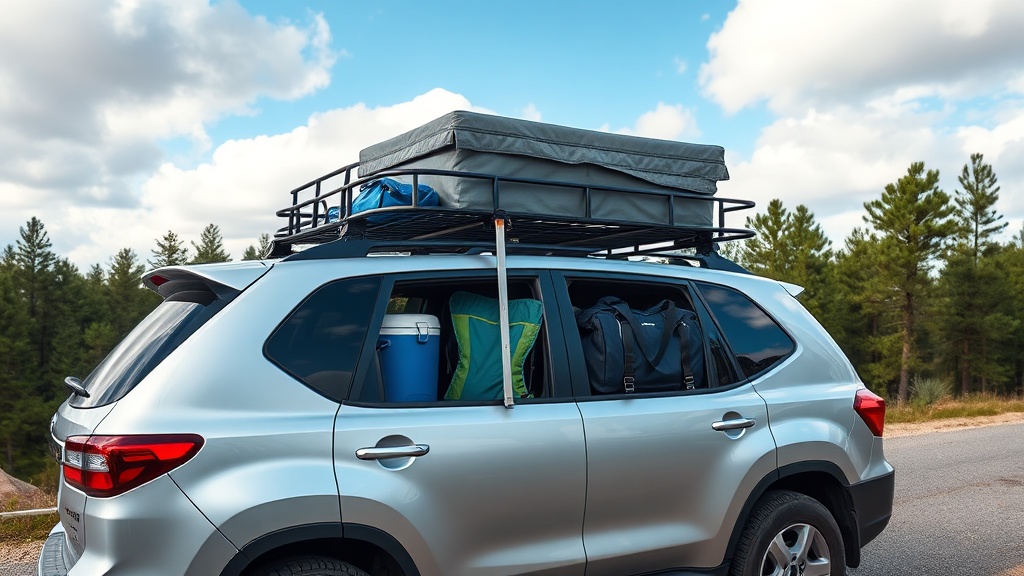
A roof rack cargo basket has no natural walls inside its perimeter. When you accelerate, brake, or take a sharp corner, every loose item moves. That constant shifting changes the center of gravity and can cause the basket to sway or even unload items. An inner divider mod creates separate compartments that physically block movement. It works like a bulkhead in a boat: each section holds its own cargo, and items cannot cross into another zone. This mod is especially useful for those who carry mixed loads—say, a propane tank on one side and soft duffels on the other. It also reduces the need for excessive tie-downs, though you should still use straps for heavy items.
For maximum security, pair your divider with upgraded RVStow Roof Rack Cargo Basket Tie-Down Points Mod: Secure Your Load. That mod adds D-rings at multiple positions, so you can strap gear into each compartment individually. Together, they create a near-zero-shift system.
How Do You Choose the Right Material for the Divider?
Material selection determines weight, strength, and corrosion resistance. Here is a comparison of the three most common options RV owners use.
| Material | Weight (per 48″ length) | Strength | Corrosion Resistance | Approx. Cost (USD) |
|---|---|---|---|---|
| Aluminum 6061-T6 flat bar (1/8″ x 3″) | 2.1 lb (0.95 kg) | Good | Excellent (never rusts) | $18–$25 |
| Galvanized steel channel (14-gauge) | 5.4 lb (2.45 kg) | Very High | Good (needs touch-up) | $12–$18 |
| Stainless steel 304 flat bar (1/8″ x 3″) | 6.8 lb (3.08 kg) | Very High | Excellent | $35–$50 |
For most RV owners, aluminum offers the best balance. It is light enough not to add meaningful weight to the roof rack, strong enough to stop a 50-lb cooler from sliding, and will never develop rust spots from rain or road salt. If you plan to carry extremely heavy loads (e.g., multiple Jerry cans or an engine hoist), stainless steel provides the highest strength but adds significant weight. Galvanized steel is a budget-friendly middle ground, but note that its zinc coating can chip over time, especially in salt-heavy environments. Refer to our RVStow Roof Rack Cargo Basket Salt Corrosion Prevention Guide for tips on protecting steel components.
How Do You Measure and Cut the Divider to Fit Your Basket?
Every RVStow basket model has slightly different internal width. Measure the distance between the two side rails at the point where you want the divider to sit. Use a tape measure that reaches from the inside edge of one rail to the inside edge of the opposite rail. Record three measurements: one near the front, one near the back, and one in the middle. If there is any variance (common on extruded baskets), use the smallest measurement so the divider fits snugly without binding. Transfer that measurement to your chosen material and mark it with a permanent marker or a center punch.
Cut the material using a miter saw with a carbide blade for aluminum or steel, or a hacksaw for a hand-tool approach. File the edges smooth to avoid cutting your cargo or your hands. For a professional finish, deburr all edges with a file or rotary tool. Then dry-fit the piece into the basket. It should slide in with light pressure—if it is loose, you can add a thin rubber strip along its ends to create a friction fit.
What Is the Best Mounting Method for a Secure Divider?
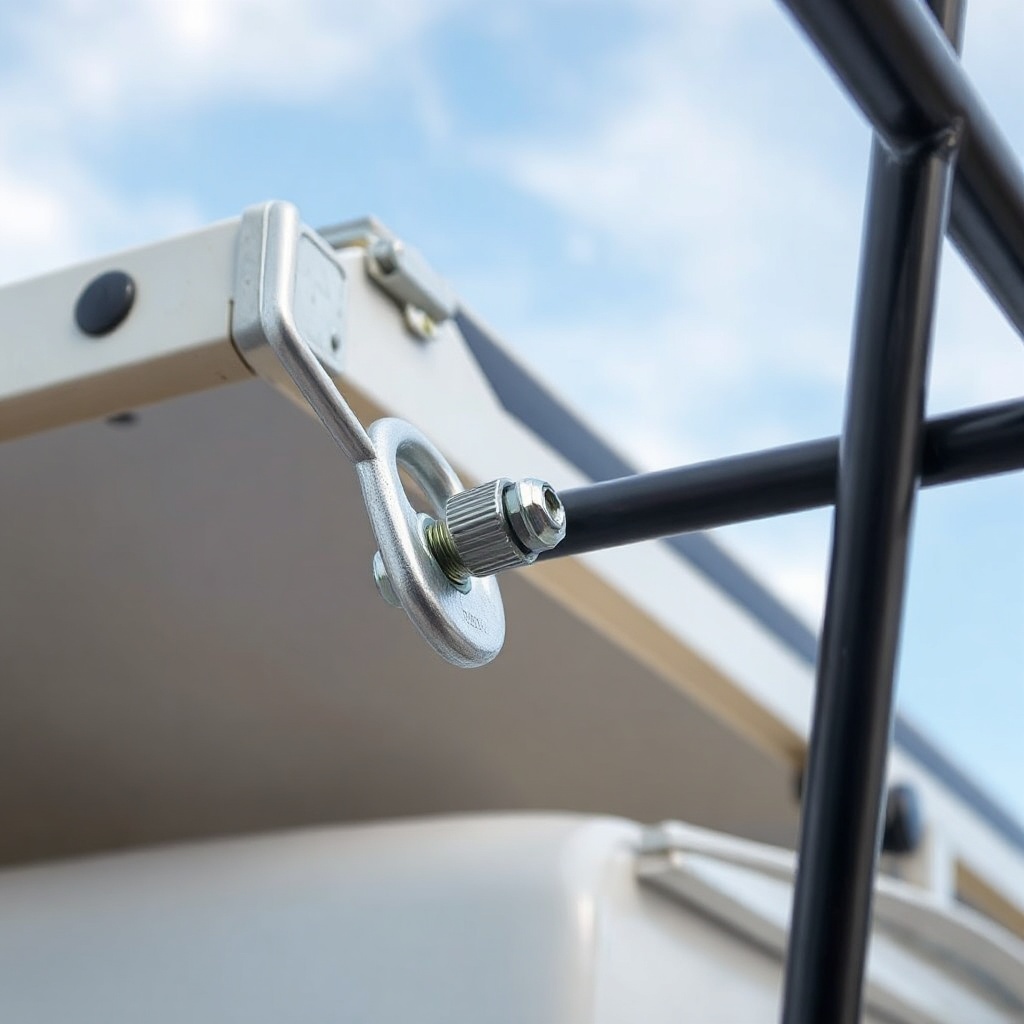
A divider that simply sits between the rails will shift forward or backward during hard braking. To lock it in place, you need a mechanical attachment. The most reliable method uses two stainless steel U-bolts that wrap around the basket’s side rails and pass through holes drilled in the divider. Here is the step-by-step process:
- Mark hole locations: Clamp the divider in place at your desired position. Drill two 3/8-inch holes through the divider at the midpoint of each side rail. The holes should be 1.5 inches from the top edge of the divider.
- Install U-bolts: Feed a 5/16-inch U-bolt up from underneath the basket rail, through the hole in the divider. Slip a flat washer, lock washer, and nut onto each threaded end. Tighten evenly until snug—do not overtighten, as aluminum can deform.
- Add anti-rotation pins: For extra security, drill a second set of holes 6 inches below the first, and insert stainless steel clevis pins through the rails and divider. This prevents the divider from rotating if the U-bolts loosen.
- Check fit: Shake the basket firmly. The divider should not move more than 1/8 inch in any direction.
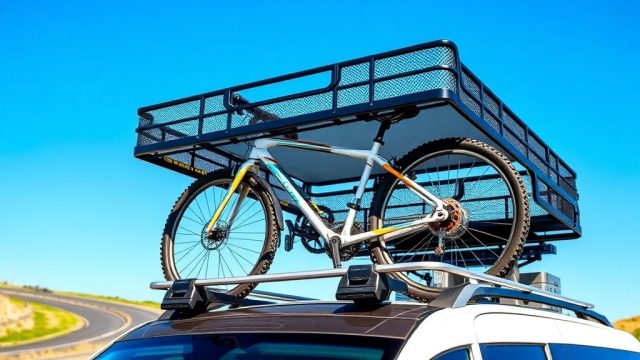
This mounting method also works well if you later want to add a RVStow Roof Rack Cargo Basket Bike Mount Mod: Transport Bikes Securely—use the same U-bolt locations for a fork mount bracket.
Can You Build a Removable or Adjustable Divider System?
Yes, and for many RV owners, a removable system is more practical because it allows you to reconfigure the basket for different trips. To make an adjustable divider, replace the U-bolts with two spring-loaded locking pins. These pins pass through holes in the divider and into a series of pre-drilled holes along the basket rails. You can then move the divider forward or backward in increments of 4 inches without tools.
Here is a simple build plan for an adjustable system:
- Drill a row of 3/8-inch holes every 4 inches along the entire length of both side rails. Use a drill guide to keep holes perpendicular.
- Cut your divider from 1/8-inch aluminum. On each end, drill a single 3/8-inch hole centered on the height.
- Insert a spring-loaded locking pin through each end of the divider and into the nearest rail hole. The handle should snap into place.
- To adjust, pull both pin handles, slide the divider to a new hole pair, and release.
This setup is ideal when you carry different cargo sizes on each trip. For instance, you can position the divider at 12 inches from the front for tall coolers, then move it to 24 inches for stacking firewood. It also works well with a RVStow Roof Rack Cargo Basket Cargo Net Replacement Mod: Upgrade to Heavy-Duty Mesh, because the net can be hooked to the divider for two separate covered compartments.
What Do Owners Say About the Inner Divider Mod?
Kevin R., full-time RVer from Arizona: “I installed a single aluminum divider across the center. Now my 30-pound propane tank stays put on the passenger side while my camp chairs sit on the driver side. Before the mod, the tank would slide into the chairs and I’d find everything jumbled after a long drive. Cost me $22 for the aluminum bar and $8 for the U-bolts. Best money I’ve spent on the roof rack.”
Linda M., weekend camper from Colorado: “I was skeptical about drilling holes in my new basket, but the divider is rock solid. I use spring pins so I can move it for kayak trips. No more gear avalanches when I open the hatchback.”
Scott H., overlander from Utah: “The divider mod solved the shifting problem, but I also added extra tie-downs on each side. Between the divider and the new straps, my basket is like a filing cabinet for gear. I even use the divider to mount my RVStow Roof Rack Cargo Basket Ladder Mount Mod: Access Your Gear from Ground Level attachment brackets—the divider gives me a solid brace point.”
Most owners report that the mod takes about 45 minutes to an hour to complete, requires only basic tools (drill, wrench, file), and costs between $20 and $50 depending on material choice. The primary frustration mentioned is alignment: drilling holes through the divider and basket rails simultaneously requires careful marking. Using a center punch and stepping up drill sizes gradually (pilot hole, then final hole) minimizes mistakes.
Frequently Asked Questions
Q1: Will adding a divider void the warranty on my RVStow cargo basket?
A1: Drilling holes into the rails may void the manufacturer warranty if done improperly. However, many RV owners consider this a non-issue because the modification is relatively non-invasive. Contact RVStow support for clarification on your specific model. If concerned, use a clamping-only system that does not require drilling.
Q2: Can I install multiple dividers in a single basket?
A2: Yes. You can add two or even three dividers to create compartments for different gear types. Just ensure you have enough rail space and that the total weight does not exceed your roof load rating. For a typical 72-inch basket, two dividers spaced 24 inches apart work well.
Q3: How much weight can a single aluminum divider hold back?
A3: A 1/8-inch x 3-inch aluminum 6061-T6 flat bar has a yield strength of roughly 35,000 psi. In practical terms, it can stop a 50-pound cooler or a stack of firewood from sliding. Heavier loads (75+ lb) may require a thicker bar, such as 3/16-inch, or using stainless steel.
Q4: Does the divider affect the basket’s ability to hold long items like fishing rods?
A4: Yes, because the divider creates a wall that interrupts the continuous length of the basket. For long items, position the divider near one end so you have a clear long section on the other side. Alternatively, use a removable divider that you can take out when needed.
Q5: What type of paint or coating should I use on a steel divider?
A5: For galvanized or steel dividers, apply a rust-inhibiting spray primer followed by a high-quality enamel paint. Two coats are recommended. For extreme environments, consider a powder-coated finish. Avoid painting the mounting surfaces where U-bolts contact the metal to prevent galvanic corrosion.
Q6: Can I add light mounts to the divider itself?
A6: Absolutely. The divider provides a strong, flat surface for mounting accessory brackets. Many owners attach small LED light bars or spotlights to the divider using L-brackets. This is similar to how you would approach a RVStow Roof Rack Cargo Basket Light Bar Mount Mod: Illuminate Your Campsite, but with the load distributed across the divider’s length.