Lippert Slide-Out Storage Tray Installation & Weight Capacity Guide
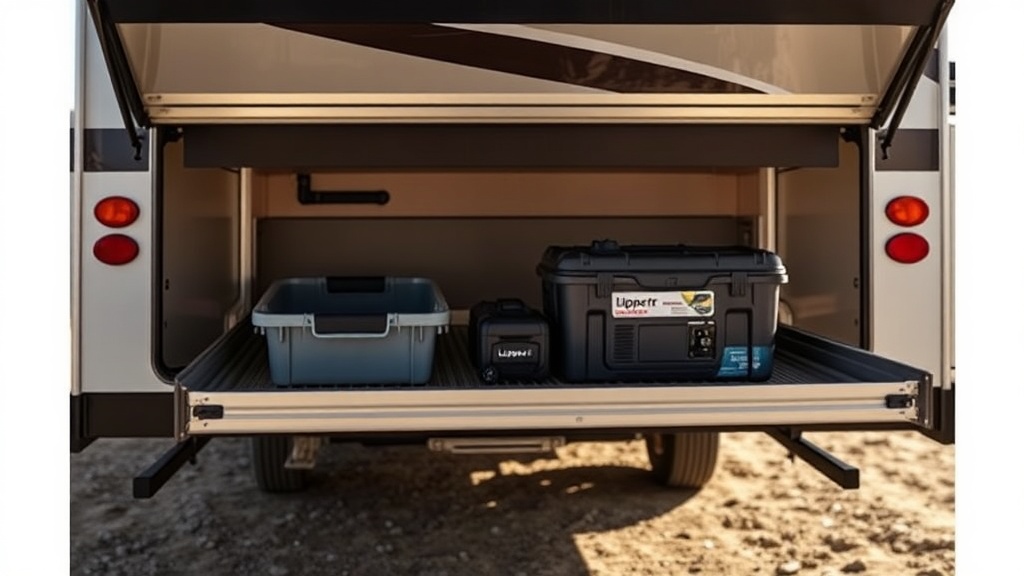
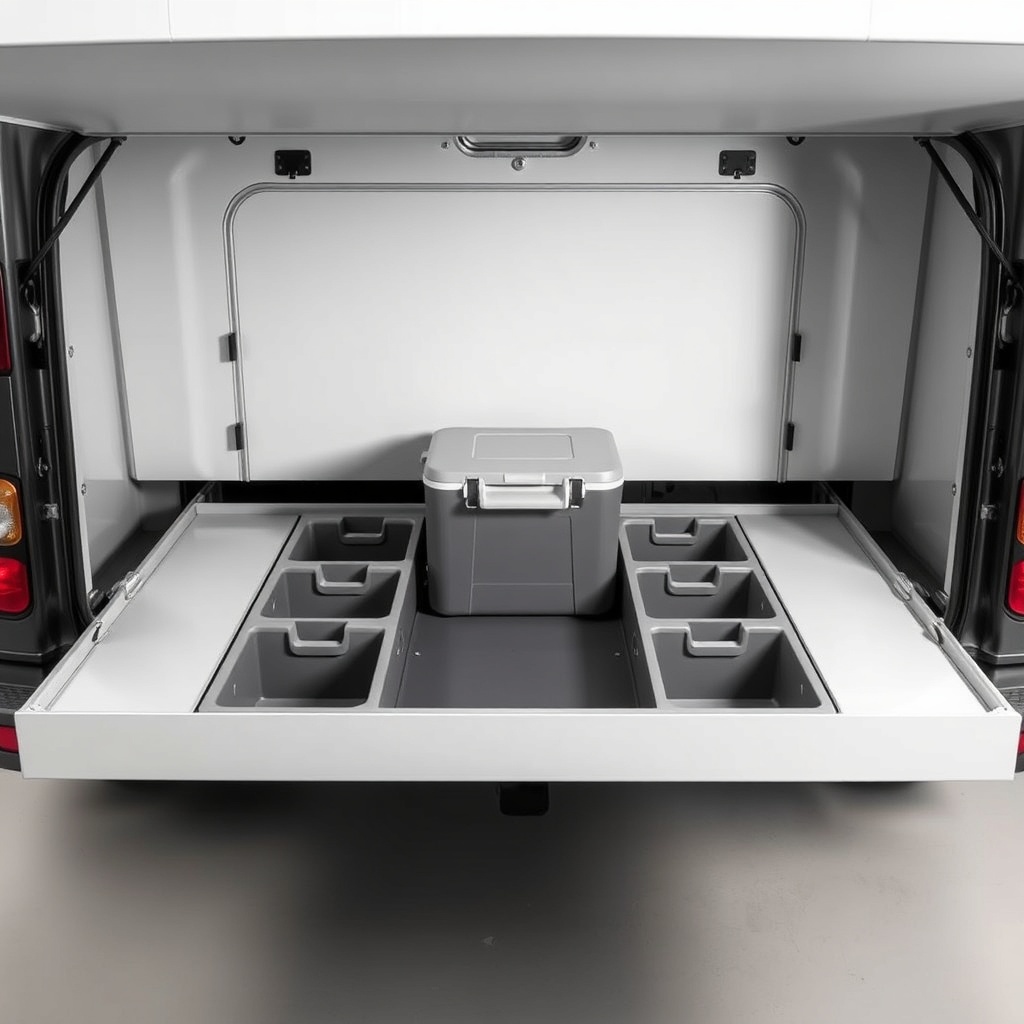
Getting a Lippert Slide-Out Storage Tray on your RV opens up a new world of organized exterior storage. With that smooth, gliding tray, you can stop digging through a dark compartment and start enjoying instant access to your gear. This guide breaks down everything you need to know for a smart installation and how to use your tray’s weight capacity safely.
Whether you’re mounting it yourself or planning a trip, we’ll cover the critical specs and tricks that keep your tray and your RV in good shape. Let’s get you rolling with less hassle and more confidence.
What Is the Exact Weight Capacity of the Lippert Slide-Out Storage Tray?
The Lippert Slide-Out Storage Tray (model 379617) has a carefully engineered weight rating of 300 lbs. That’s not a generic number; it’s the result of testing the tray’s aluminum construction and roller system. Keep in mind this capacity is for the tray itself, not the slide-out mechanism extending from your RV’s frame.
You’ll hear some owners talk about running 350 or even 400 lbs, especially on diesel pushers or fifth wheels. That’s a risk. The tray’s rails are designed for 300 lbs of distributed cargo, and exceeding that can bend the roller tracks or even snap the locking pins. One heavy cooler or a stack of storage bins filled with tools can push you over the limit fast.
For safe weight distribution, load the tray so heavier items sit centered over the rails. Uneven loads—like a single generator strapped to one side—stress the mechanism and wear out the bearings in a few months. If you need more capacity, consider a Lippert Slide-Out Tray vs. MorRyde: Which Is Best for Your RV? comparison before buying a heavier-duty unit.
What Tools and Parts Do You Need for a DIY Installation?
Installing the Lippert Slide-Out Storage Tray is a solid weekend project for a handy owner, but you need specific tools and parts. Don’t guess—having these ready saves you a lot of frustration.
Required Tools
- Cordless drill with 3/8-inch and 1/2-inch drill bits
- Socket set (metric and SAE) with ratchet and extensions
- Torque wrench (for tightening bolts to manufacturer spec)
- Measuring tape (at least 10 feet)
- Level (4-foot or longer)
- Safety glasses and work gloves
- Scrap wood or a jack for lifting the tray into position
Parts and Hardware
- Lippert Slide-Out Storage Tray kit (includes tray, rails, and hardware)
- Self-tapping bolts or carriage bolts (check your RV’s frame material)
- Structural sealant (for waterproofing bolt holes in the frame)
- Zinc or stainless steel washers and lock nuts
Before you start, measure your RV’s underbelly clearance. The tray itself is about 6 inches deep, but the slide-out mechanism adds another 4 inches when fully retracted. You need at least 12 inches of clearance between the tray’s bottom and the ground to avoid scraping on steep driveways. If your RV sits low, try Lippert Slide-Out Storage Tray Rust Prevention & Maintenance to learn how proper sealing reduces corrosion from road salt and mud.
How Do You Install the Tray Correctly (Step-by-Step)?
A correct installation starts with accurate layout. Lippert provides a template in the manual, but RV frames vary, so do your own check. Here’s a reliable method:
- Clear the area. Remove any existing storage, and clean the underside of the frame where the rails will mount. Use a wire brush if there’s rust or old sealant.
- Mark the rail positions. Measure from the center of the compartment opening outward. Rails should be parallel and exactly 24 inches apart (center-to-center). Use your level to mark horizontal lines on the frame.
- Drill pilot holes. Drill through the frame using a 3/8-inch bit for self-tapping bolts or a 1/2-inch bit for carriage bolts. Apply structural sealant to each hole before bolting.
- Mount the rails. Attach each rail to the frame with bolts, washers, and lock nuts. Torque to 15 ft-lbs for self-tapping bolts or 25 ft-lbs for carriage bolts. Check the rails are level.
- Attach the tray. Slide the tray onto the rails until it clicks into the locking mechanism. Test the extension and retraction—it should move smoothly with no binding.
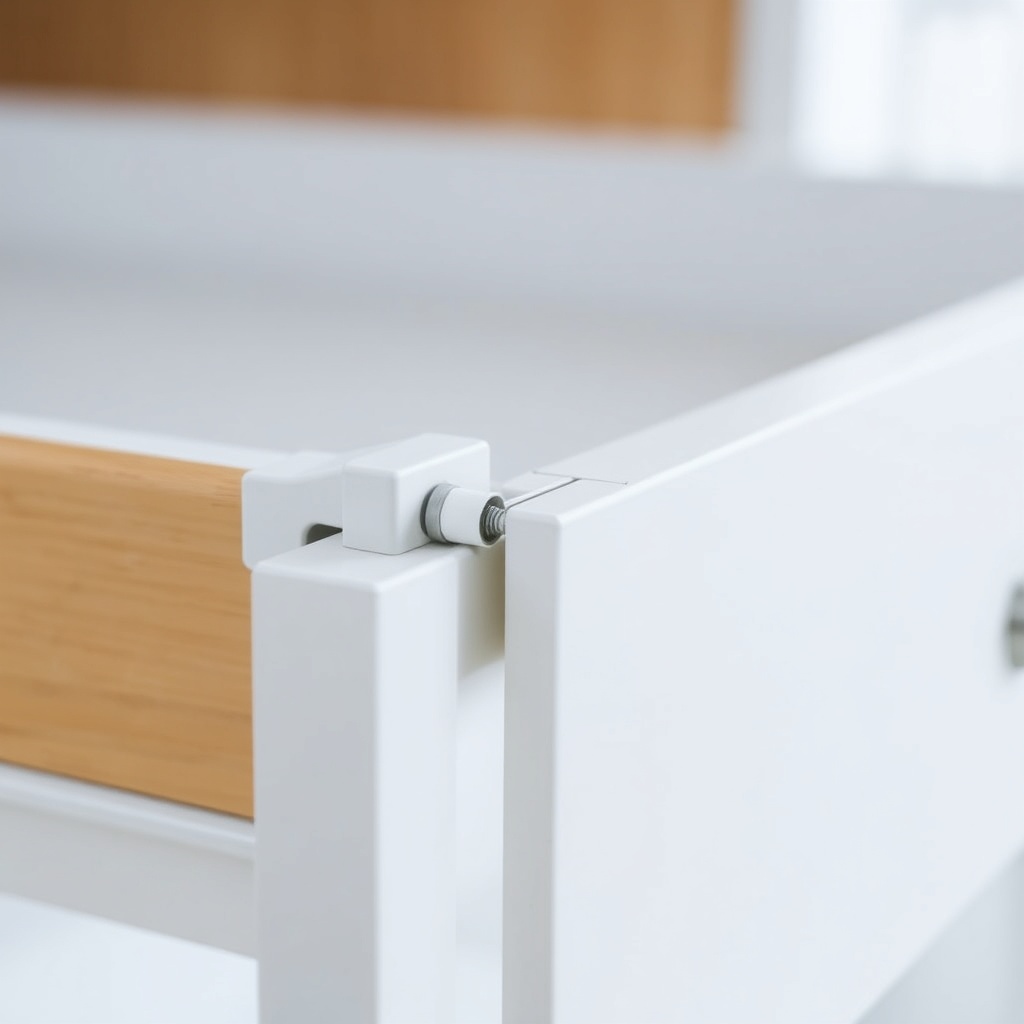
- Test the lock. Fully extend the tray, then push the lock pin. Give it a firm tug—if it releases, adjust the latch tension using the Allen screw on the side.
One common mistake is overtightening the bolts, which can strip the frame threads. Use a torque wrench and never exceed 30 ft-lbs on self-tapping bolts. Not following torque specs often leads to loose rails and a sagging tray.
If you’re towing multiple items or a heavy load, see How to Balance Load on Lippert Slide-Out Trays for Safe Towing for tips on keeping your RV’s weight distribution in check.
What Is the Severity of Common Installation and Usage Issues?
Some problems with the Lippert Slide-Out Storage Tray are minor, while others need quick attention. Use this table to gauge your situation:
| Issue | Severity |
|---|---|
| Rails slightly out of level after installation | Usually not urgent—can shim with washers, but monitor for binding. |
| Latch pin sticks or requires hard push to engage | Needs attention soon—lubricate with dry silicone spray; if persists, adjust lock. |
| Roller bearings making a grinding noise | Usually not urgent—clean and lubricate bearings, but inspect for debris or rust. |
| Tray tilts when fully extended (more than 1 inch drop at tip) | Needs attention soon—check rail bolts and frame attachment; may indicate incorrect installation. |
| Rust forming on tray or rail surfaces | Needs attention soon—clean with steel wool, apply rust converter, then repaint with rust-resistant paint. |
| Visible cracks or bends in tray aluminum | Needs attention soon—remove load, inspect fully; do not use until repaired by a professional. |
If you catch a latch pin issue early, you can fix it in minutes. Ignoring it leads to a tray that extends while driving—a dangerous scenario that can cause cargo loss or a crash. Check your latch every time you load the tray.
Which Lippert Slide-Out Storage Tray Model Should You Buy?
Lippert offers several versions of their slide-out tray, and the right one depends on your RV’s compartment size and payload needs. The most common model for Class A and fifth wheels is the 379617, which measures 48 inches wide by 30 inches deep and handles 300 lbs. For shorter compartments, the 379618 (36 inches wide) is a popular choice.
There’s also a heavy-duty version, the 379619, built for larger RVs. It has steel rather than aluminum rails, boosting its capacity to 500 lbs, but it’s 10 lbs heavier and requires more reinforcement in the frame. Before buying, measure your compartment’s width and depth—leave at least 2 inches of clearance on each side for the rail mechanism.
Prices range from $350 to $600 depending on the size and where you buy. Check with a Lippert dealer or an RV parts store. If you’re between the Lippert and the MorRyde, the Lippert Slide-Out Tray vs. MorRyde: Which Is Best for Your RV? article can narrow down your choice.
What Do Owners Say About the Lippert Slide-Out Storage Tray?
Real-world experiences from RV owners offer practical insight. Here’s what stands out:
- “I’ve had my Lippert tray for two seasons now, and it’s held up well. The latch got sticky once, but a quick spray of silicone fixed it. I load my generator and two Coolers with no trouble—just stay under 300 lbs.”
- “Installation was tricky on my 2019 Class A because the frame had welded brackets in the way. Had to drill new holes in the rails for clearance. Works fine now, but check your frame first.”
- “One thing Lippert doesn’t mention: the roller bearings can collect road grit. I clean mine every spring and apply light grease, and they still roll smooth. If you skip the maintenance, they wear out fast.”
Owners consistently praise the tray’s ease of use once installed, but they warn about precision during the initial setup. A common theme is that the latch can loosen over time—tightening the latch pin’s hex screw every six months is a smart habit. For more upkeep, read Lippert Slide-Out Storage Tray Rust Prevention & Maintenance.
Frequently Asked Questions
Here are answers to the most common questions about the Lippert Slide-Out Storage Tray.
Q: What is the weight capacity of the Lippert Slide-Out Storage Tray?
A: The standard Lippert Slide-Out Storage Tray (model 379617) has a weight capacity of 300 pounds. The heavy-duty version (379619) supports 500 pounds but requires extra frame reinforcement.
Q: Can I install the Lippert Slide-Out Storage Tray myself?
A: Yes, many RV owners install the tray themselves. It’s a weekend project that requires basic tools like a cordless drill, socket set, torque wrench, and measuring tape. Follow the manual and your RV’s frame specs for safe installation.
Q: How do I maintain the Lippert Slide-Out Storage Tray?
A: Clean the rail and roller bearings twice a year with dry silicone spray. Check the latch pin for smooth engagement. Inspect for rust annually and treat any spots immediately with a rust converter and paint.
Q: What tools are needed for the installation?
A: You’ll need a cordless drill with 3/8-inch and 1/2-inch bits, a socket set, torque wrench, 4-foot level, measuring tape, safety glasses, and scrap wood or a jack to lift the tray.
Q: How do I fix a sticky latch on the Lippert Slide-Out Storage Tray?
A: Use dry silicone lubricant on the latch pin and track. If it still sticks, adjust the latch tension using the hex screw on the side. For persistent issues, inspect for debris or rust in the mechanism.
Q: Can I overload the Lippert Slide-Out Storage Tray?
A: Overloading the tray beyond the 300-pound limit is risky. It can bend the rails, snap the locking pins, or cause the tray to detach while driving. Always distribute weight evenly and stay within the capacity.