Why Proper Torque Matters for Your RVStow Roof Rack Cargo Basket
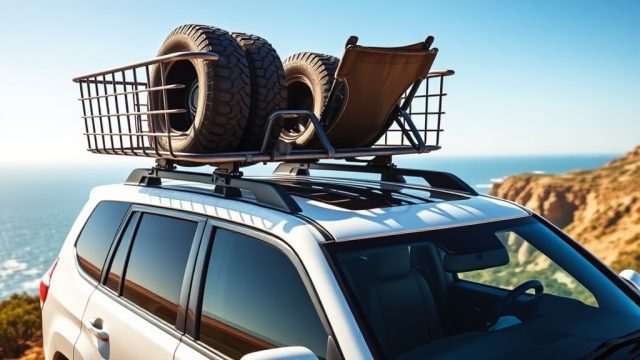
When you invest in an RVStow Roof Rack Cargo Basket, you expect it to carry your camping gear, coolers, and outdoor equipment safely across hundreds of miles. However, many RV owners overlook a critical detail: the torque specifications and bolt tightening sequence. Over-tightening can strip threads or crack the mounting rails, while under-tightening risks basket detachment at highway speeds. This article provides the exact torque values, tightening order, and maintenance schedule to keep your cargo secure.
The RVStow Roof Rack Cargo Basket uses grade-8 steel hardware with a recommended torque range of 18–22 ft-lbs (24–30 Nm) for the crossbar mounting brackets and 12–15 ft-lbs (16–20 Nm) for the basket-to-crossbar bolts. Following the proper sequence prevents uneven load distribution and warping. For a deeper dive into protecting your investment from the elements, see our RVStow Roof Rack Cargo Basket Salt Corrosion Prevention Guide.
What Is the Correct Bolt Tightening Sequence for the RVStow Roof Rack Cargo Basket?
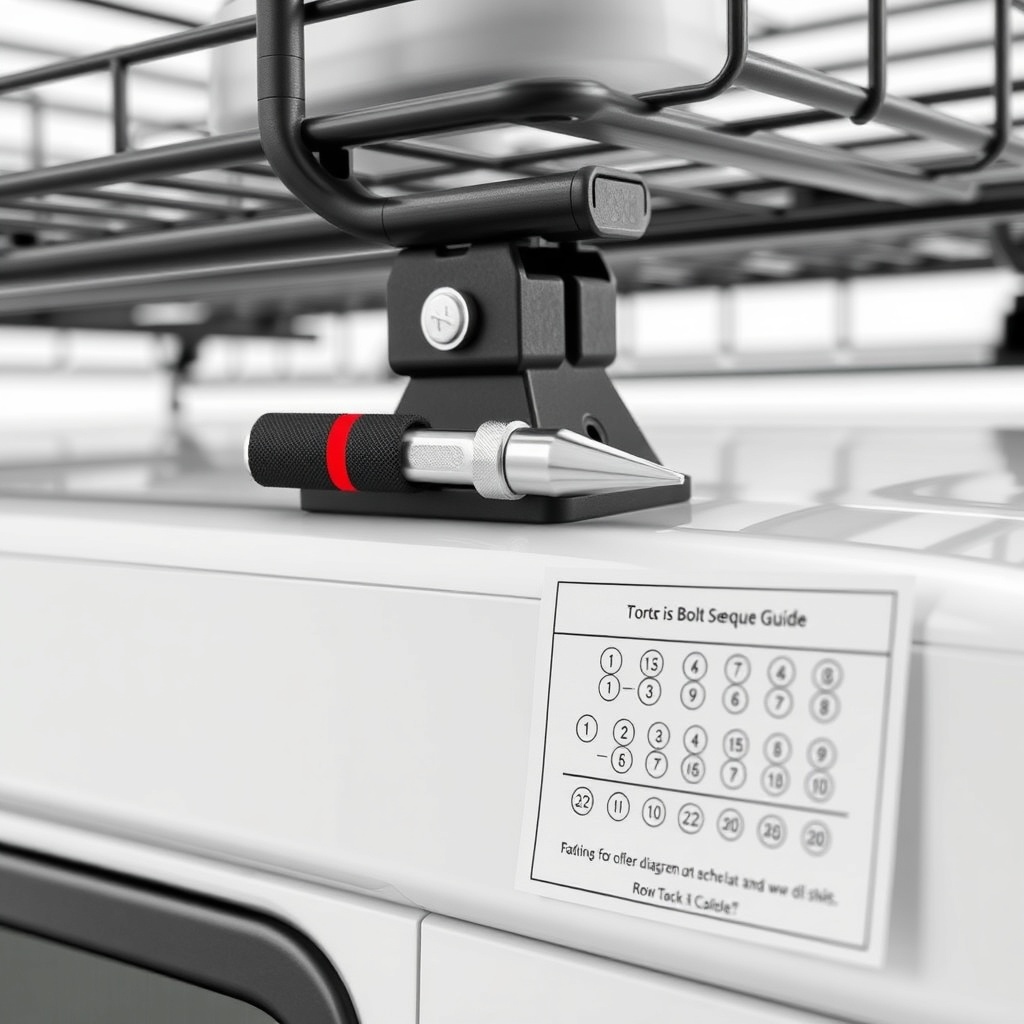
The RVStow Roof Rack Cargo Basket mounts using four primary bolts that secure the basket to the crossbars, plus four additional bolts for the crossbar clamps. The tightening sequence follows a star or cross pattern to ensure even pressure.
Step-by-step sequence for crossbar-to-basket bolts:
- Bolt 1 (front left): Tighten to 10 ft-lbs initially
- Bolt 2 (rear right): Tighten to 10 ft-lbs
- Bolt 3 (front right): Tighten to 10 ft-lbs
- Bolt 4 (rear left): Tighten to 10 ft-lbs
- Repeat the same pattern, increasing torque to final 12–15 ft-lbs
Crossbar clamp bolt sequence:
- Front crossbar left clamp, then right clamp
- Rear crossbar left clamp, then right clamp
- Final torque: 18–22 ft-lbs
Always use a calibrated torque wrench; never guess. If you plan to carry bikes on top, consult our RVStow Roof Rack Cargo Basket Bike Mount Mod: Transport Bikes Securely for additional torque requirements on bike adapters.
What Torque Values Should I Use for Each Bolt Size on the RVStow Roof Rack Cargo Basket?
The RVStow Roof Rack Cargo Basket uses three distinct bolt sizes, each with a specific torque range. Using incorrect torque can lead to failure modes ranging from rattling to catastrophic detachment.
| Bolt Location | Thread Size | Torque Range (ft-lbs) | Torque Range (Nm) | Tightening Tool |
|---|---|---|---|---|
| Crossbar clamp bolts | M8 x 1.25 | 18–22 | 24–30 | 3/8″ drive torque wrench |
| Basket-to-crossbar bolts | M6 x 1.0 | 12–15 | 16–20 | 1/4″ drive torque wrench |
| Accessory mounting bolts (optional) | M5 x 0.8 | 6–8 | 8–11 | Small torque screwdriver |
| Basket side rail bolts | M6 x 1.0 | 10–12 | 14–16 | 1/4″ drive torque wrench |
Note: Always lubricate threads lightly with anti-seize compound if installing in coastal areas. For additional guidance on preventing rust and corrosion, read the RVStow Roof Rack Cargo Basket Salt Corrosion Prevention Guide.
The use of a torque wrench is non-negotiable. Manual tightening with a socket wrench can easily exceed 30 ft-lbs on M6 bolts, risking thread stripping in the aluminum crossbars.
How Often Should I Re-Torque the RVStow Roof Rack Cargo Basket Bolts?
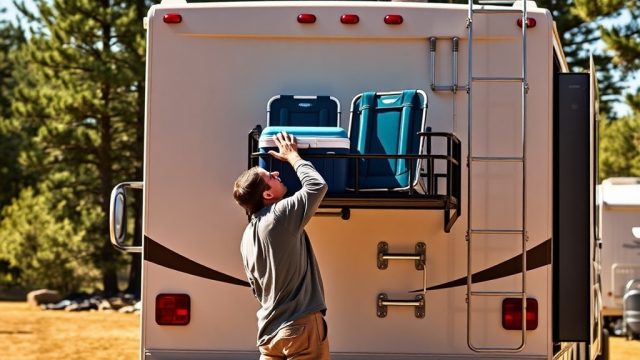
Bolt loosening due to vibration is a real concern on long trips. The RVStow Roof Rack Cargo Basket requires a periodic re-torque schedule:
- Initial installation: Torque to spec, then drive 50 miles and re-torque all bolts.
- After first 500 miles: Re-check all bolts.
- Before each trip: Visual inspection; re-torque if any bolt feels loose.
- Seasonal maintenance: Every 3 months or 3,000 miles, remove and reapply anti-seize, then torque to spec.
- After extreme conditions: Re-torque immediately after driving on washboard roads, through heavy rain, or in temperatures above 100°F (38°C).
Temperature fluctuations cause metal expansion and contraction. In winter, bolts may loosen 2–3 ft-lbs. In summer, they may tighten slightly. Always check torque when the ambient temperature is between 50–80°F for consistency.
For those who carry heavy loads like camping gear or coolers, consider adding an RVStow Roof Rack Cargo Basket Inner Divider Mod: Organize Gear & Prevent Shifting to reduce lateral forces that can stress bolts.
What Are the Consequences of Over-Tightening or Under-Tightening Bolts on the RVStow Roof Rack Cargo Basket?
Understanding the risks helps emphasize why torque specs matter. Here are common failure modes categorized by severity:
| Issue | Severity | Cause | Result | Cost to Repair |
|---|---|---|---|---|
| Stripped threads on crossbar | High | Over-tightening M6 bolts beyond 20 ft-lbs | Basket cannot be secured; crossbar replacement needed | $150–$250 USD |
| Bolt fatigue fracture | Critical | Over-tightening caused stress risers | Sudden basket detachment at speed | $500+ USD (damage to RV and others) |
| Basket rattling and noise | Low | Under-tightening (below 10 ft-lbs) | Annoying noise, but gear may shift | $0 (re-torque) |
| Crossbar clamp slippage | Medium | Under-tightening clamp bolts | Basket shifts sideways, scratches roof | $50–$100 USD (paint repair) |
| Corrosion-induced seizure | Medium | No anti-seize applied; bolts rust | Bolts snap when trying to remove | $30–$80 USD (extraction kit) |
The most dangerous scenario is bolt fatigue fracture from over-tightening. A finger-tight plus quarter-turn approach is never accurate. Use a torque wrench every time.
If you plan to add accessories like a light bar, be aware that additional holes may alter the load path. See our RVStow Roof Rack Cargo Basket Light Bar Mount Mod: Illuminate Your Campsite for torque spec adjustments.
What Owners Say About Tightening and Maintaining the RVStow Roof Rack Cargo Basket
Owner feedback from RV forums and online reviews highlights the importance of correct torque. James T. from Colorado notes: “I initially hand-tightened the bolts on my RVStow basket and drove 200 miles. When I checked, two bolts were loose. Following the 50-mile re-torque rule fixed it. Now I always carry a torque wrench.”
Sarah L., a full-time RVer, adds: “I stripped one M6 bolt because I didn’t realize aluminum crossbars need lower torque than steel. A replacement kit cost me $35 USD. Now I use the 12–15 ft-lbs spec religiously.”
Mike R. from Florida warns about corrosion: “After a winter near the coast, my bolts were seized. I had to drill them out. Now I apply anti-seize and re-torque every season. The RVStow Roof Rack Cargo Basket Salt Corrosion Prevention Guide saved my next set of bolts.”
Several owners recommend upgrading to heavy-duty cargo nets to reduce load shifting. Check out RVStow Roof Rack Cargo Basket Cargo Net Replacement Mod: Upgrade to Heavy-Duty Mesh for better load containment.
For those who need ground-level access, the ladder mount mod is popular. Read RVStow Roof Rack Cargo Basket Ladder Mount Mod: Access Your Gear from Ground Level to see how owners integrate ladders without compromising bolt torque.
Frequently Asked Questions
Can I use a regular socket wrench instead of a torque wrench for the RVStow Roof Rack Cargo Basket?
No. A socket wrench cannot measure torque accurately. You risk over-tightening beyond 30 ft-lbs on M6 bolts, which can strip the aluminum crossbar threads. A quality torque wrench costs as little as $30 USD and prevents $200+ in repairs.
What happens if I torque the crossbar clamp bolts to 25 ft-lbs instead of 18–22 ft-lbs?
Exceeding 22 ft-lbs on M8 bolts can cause thread deformation in the clamp or crossbar. The bolt may seem tight, but the threads may become damaged, leading to slippage under load. Always stay within the specified range.
How do I know if a bolt is stripped on my RVStow Roof Rack Cargo Basket?
Signs include: the bolt spins freely without tightening, you hear a clicking sound when torquing, or the bolt feels loose even after tightening. Remove the bolt and inspect threads visually. If they appear flattened or missing, replace the bolt and check the crossbar threads.
Should I use threadlocker on the bolts of the RVStow Roof Rack Cargo Basket?
Threadlocker (e.g., Loctite Blue 242) is optional but beneficial for high-vibration environments. Apply a small drop to the bolt threads before torquing. However, do not use threadlocker on bolts that you plan to remove frequently, as it can make removal difficult. For coastal areas, use anti-seize instead.
Does the torque spec change if I install the basket on a fiberglass roof?
Yes. On fiberglass roofs, the mounting brackets must distribute load evenly. Torque the crossbar clamps to the lower end of the range (18 ft-lbs) to avoid cracking the roof material. Use a load-distributing plate under the clamps if provided.
Can I drive through a car wash with the RVStow Roof Rack Cargo Basket installed?
It depends on the car wash type. Automatic car washes with high-pressure jets can loosen bolts if the basket is not properly torqued. Ensure all bolts are at the correct torque (12–15 ft-lbs basket-to-crossbar, 18–22 ft-lbs clamps) and check them after the wash. Touchless car washes with low pressure are safer.